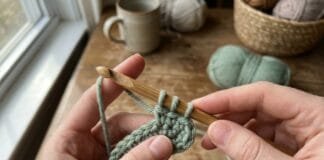
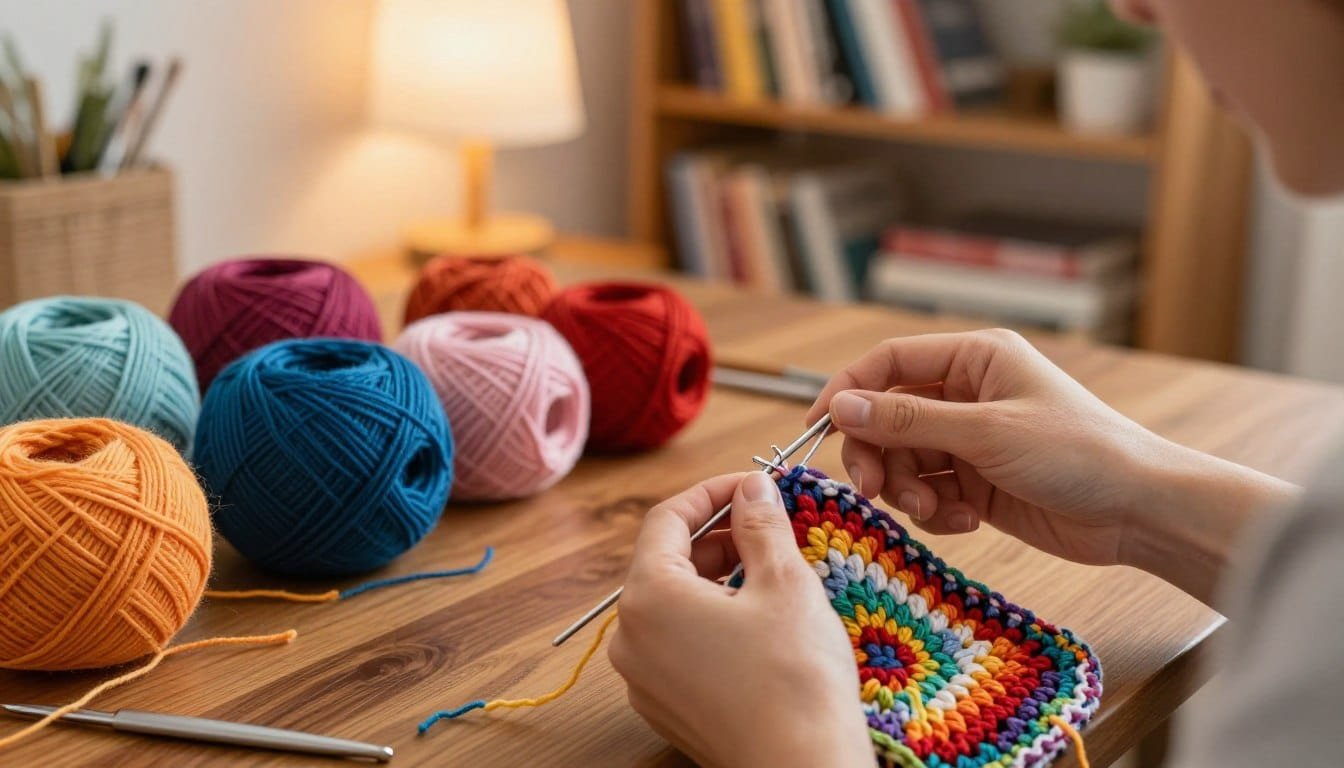
I used to think weaving in ends was the boring five minutes at the end of a project — something to rush through so I could finally call it done. Learning how to weave in ends crochet properly changed that, mostly because I got tired of finding loose tails poking through a finished blanket six months later. In this guide I’ll walk through the method I actually use, how it changes when you’re working in the round or on something huge like a blanket, and what to do when you don’t have a needle handy and need to weave in with just a hook.
I’ve been crocheting for about twelve years, and finishing technique is genuinely the thing I get asked about most — more than stitch patterns, more than gauge. It makes sense. Nobody teaches this part properly, and it’s the difference between a project that survives years of washing and one that quietly comes apart at the seams.
Why This Step Matters More Than It Looks Like It Does
Weaving in ends isn’t decorative. It’s structural. Every tail left over from starting a project, finishing it, or changing colors partway through is a loose thread that, left untreated, can pull the surrounding stitches apart if it’s ever tugged.
I learned this the expensive way on a baby blanket I made for my niece. I was in a hurry to finish it before her shower, so I tied quick knots at each color change instead of properly weaving anything in, then trimmed the tails short and called it done. Eight months later her mom sent me a photo of one whole stripe half-unraveled from a single loose knot that had worked itself free in the wash. I re-wove every single end on that blanket by hand, and I’ve never taken the shortcut since.
The tails themselves aren’t the enemy — it’s leaving them unsecured that causes problems. Done properly, a woven-in end distributes tension across several stitches instead of concentrating all the stress on one small knot, which is exactly why it holds up so much better over time.
What You Actually Need
You don’t need much for this, but the tools you pick do matter.
A yarn needle (tapestry needle). This is the standard tool, and for most projects it’s the fastest, most controlled option. Get one with an eye big enough for your yarn to thread through without a fight — a needle that’s too small for the yarn weight you’re using will split fibers and slow you down.
Sharp, small scissors. You want to trim tails close to the fabric without nicking the stitch they’re anchored in. Regular household scissors work in a pinch, but small embroidery scissors give you much more control right at the surface.
A spare crochet hook, for when a needle isn’t practical. More on this below — there’s a whole method built around using a hook instead of a needle, and it’s worth knowing even if you normally reach for a needle first.
The Core Method: Weaving In With a Needle
This is the technique I use on the vast majority of projects, and it works the same basic way regardless of stitch pattern or yarn weight.
- Thread your tail onto a yarn needle.
- Turn your work to the wrong side, so you’re weaving into the back of the fabric where it won’t show.
- Pass the needle through the back of four or five stitches in one direction, staying roughly parallel to the row you’re working on rather than going straight through to the front.
- Pull the yarn through until it’s snug against the fabric, but not so tight that it puckers the stitches around it.
- Reverse direction and weave back through two or three of those same stitches, going the opposite way.
- Trim the tail close to the fabric, then gently stretch the area to let the fibers settle and the cut end disappear into the stitches.
That direction change in step 5 is the part people skip most often, and it’s the part that actually matters. Weaving a tail in a single straight line still lets it pull loose under enough tension — reversing direction locks it in place because the yarn has to fight friction from two different angles instead of one.
If you’re working with a smoother fiber — cotton, bamboo, anything with less natural grip than wool — I’ll sometimes go back through a third time. Slippery yarns are the ones most likely to work themselves loose over repeated washing, so the extra thirty seconds is worth it.
How to Weave in Ends Crochet in the Round
Rounds — amigurumi, hats, granny circles, anything worked in a spiral or joined with a slip stitch — come with a wrinkle flat rows don’t have: there’s no long straight edge of “wrong side” fabric to hide a tail inside. You’re often working with a smaller, curved surface, and sometimes the piece is going to be stuffed or seamed to something else afterward.
For a joined round (slip-stitched closed at the end of each round), the process is close to the flat-row method — weave the tail through the backs of a few stitches near the join, changing direction once, staying on the wrong side. The curve of the round doesn’t change the mechanics much.
For amigurumi and other continuous spiral rounds, timing matters more than technique. If the piece is going to be stuffed and closed up — the base of a head, the bottom of a body — you have some flexibility, since nothing there will be visible once it’s assembled. But for an open piece like an ear or an arm that’s about to be sewn onto something else, don’t weave in and trim the tail yet. Leave it long, use it to sew the piece on, and only weave in whatever length is left over once that seam is done. I learned to do this after wasting a lot of yarn cutting tails short and then having to start a fresh piece of yarn just to sew each limb on separately.
One more thing specific to rounds: because the fabric is smaller and more tightly curved than a flat blanket square, it’s easier to accidentally weave a tail through to the right side without noticing, especially in single crochet amigurumi where stitches are dense and tight. Check the front of the piece after weaving, before you trim, just to be sure nothing snuck through.
How to Weave in Ends Crochet Blanket Projects
Blankets are their own category, mostly because of scale. A striped afghan or a granny-square blanket can easily rack up thirty, forty, sometimes over a hundred ends by the time you’re done, especially if you’re changing colors every row or joining squares individually.
The method itself doesn’t change, but the approach to managing that many ends does. A few things that have saved me real time on big blanket projects:
Weave in ends as you go, not all at the end. Waiting until the entire blanket is finished to face a pile of forty loose tails is genuinely demoralizing, and it’s easy to rush the job when you’re staring down that much repetitive work at once. I weave in every end within a row or two of making it, while I can still clearly see which stitches belong to which color.
Sort by color when you do batch it. If you are saving a stack of ends for later, weave same-color tails into same-color stitches. It sounds obvious, but on a striped blanket it’s easy to grab whichever needle is threaded and weave a tail into the nearest available fabric, which sometimes means burying a light-colored tail into dark stitches where it shows.
Consider weaving as you crochet for color changes specifically. Instead of finishing a color, cutting it, and weaving the tail in later, you can lay the old tail along the top of your next few stitches and crochet right over it, effectively hiding it inside the new stitches as you make them. It works best in double crochet or taller stitches with reasonably thick yarn — the technique gets fiddly in tight single crochet, where there’s less room inside each stitch to bury an extra strand.
For a full pattern that puts a lot of these color-change and joining decisions into practice at scale, my star blanket pattern post walks through a full multi-color project — worth a look if you want to see this finishing approach applied to an actual large blanket rather than just described in the abstract.
How to Weave in Ends Crochet With Hook (No Needle Method)
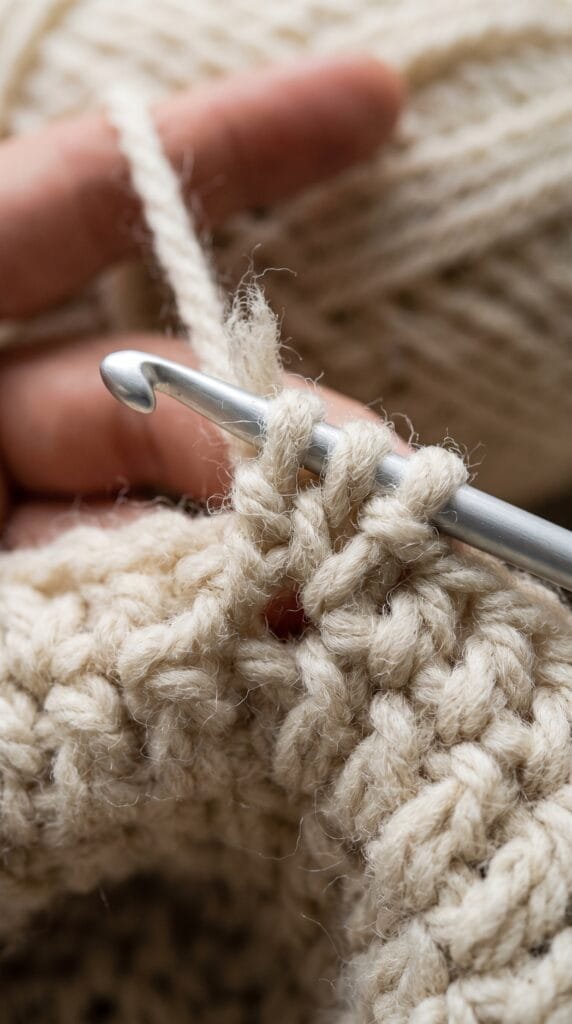
Sometimes you don’t have a yarn needle handy, or your yarn is thick enough that threading it onto one is more trouble than it’s worth. That’s when the hook method earns its keep.
- Turn your work to the wrong side.
- Choose a hook a size or two smaller than the one you used for the project — a smaller hook is easier to slide cleanly under the backs of stitches without stretching them out.
- Insert the hook under the strands of four or five stitches, the same way you’d route a needle.
- Hook the tail and pull it through those stitches, drawing it along behind the fabric.
- Change direction and pull it back through a couple of those same stitches from the opposite side, exactly like the needle method.
- Trim and stretch the fabric to settle the end.
The honest trade-off: this method is genuinely a bit slower than a needle for finer yarns, because a hook doesn’t glide through stitch backs the way a slim needle eye does, and it’s easier to accidentally split a strand of yarn with the hook’s point. Where it really shines is on bulky or super bulky yarn — anything too thick to comfortably thread onto a needle in the first place. I keep a spare 3.5mm hook in my project bag specifically for this, since it’s small enough to maneuver through even tight stitches on projects worked with a much larger main hook.
Weaving In on Lace, Openwork, and Textured Stitches
Solid stitch patterns like single or double crochet give you plenty of dense fabric to hide a tail inside. Lace, filet, and other openwork patterns don’t offer that same cover, and it took me a while to adjust my approach when I started designing more openwork pieces.
The core problem is simple: there just isn’t much solid fabric to weave through. A chain-space-heavy stitch pattern might only give you a thin strand of actual stitches to work with between one open space and the next, which means a standard five-stitch weave-in can run out of fabric before it’s fully secured.
My workaround is to weave along whatever solid “posts” or stitch columns exist, following the vertical or diagonal lines of the pattern rather than trying to go in a straight horizontal line the way I would on solid fabric. It takes a bit more patience to trace the right path, but it keeps the weaving invisible instead of distorting the open spaces around it.
For anything genuinely too airy to weave in confidently — very fine lace shawls in particular — I’ll sometimes fall back on a double or triple overhand knot right at the base of a stitch, tucked as close to the fabric as possible, rather than risk stretching out a delicate mesh pattern by forcing a needle through it repeatedly. It’s the one place I’ll knowingly bend my own “never just knot it” rule, because the alternative can do more visible damage than the knot itself.
Timing: When to Weave In on a Garment
For anything wearable — sweaters, cardigans, anything with seams still to come — timing your weaving-in matters as much as the technique itself.
I don’t weave in a single end until the garment is fully assembled: all pieces made, all seams sewn, any edging finished. It’s tempting to tidy up as you go, especially on a big project, but a woven-in tail makes a seam much harder to unpick if you need to adjust fit or fix a mistake discovered three pieces later. I’ve had to carefully un-weave and re-weave more ends than I can count because I got impatient and finished a piece too early, only to find the armhole gauge was off once I tried seaming it to the body.
The one exception is color-change tails in the middle of a single piece, well away from any future seam — those are safe to weave in immediately since there’s no plausible reason you’d need to unpick that section later.
A Wool-Specific Shortcut Worth Knowing
If you’re working with 100% animal fiber — wool, alpaca, most non-superwash yarns — there’s a technique that sidesteps weaving in almost entirely for mid-project color changes and joins: spit splicing, sometimes called wet felting the ends together.
You overlap the two yarn tails by a couple of inches, wet them slightly, and rub them briskly between your palms. The friction and moisture felt the fibers together into a single, nearly seamless join, and once it’s dry you can crochet right through the spliced section as if it were one continuous strand — no tail to weave in at all on that particular join.
It only works on animal fibers with enough natural scale structure to felt, so it’s a non-starter on acrylic, cotton, or superwash-treated wool, which is specifically processed to resist felting. I use it constantly on plain wool blanket and garment projects and basically never on anything superwash or blended with plant fiber, where it simply won’t hold. Worth testing on a scrap first if you’re not sure whether your particular yarn will splice — some blends surprise you either way.
Common Mistakes I See (and Made Myself)
Weaving in too tight. This is the single most common issue, and I did it constantly as a beginner because I equated “secure” with “as tight as possible.” Pulled too tight, the tail puckers the fabric around it into a small dimple that never fully relaxes. Snug is the goal, not taut.
Only weaving in one direction. A tail woven in a straight line can still work loose over months of handling and washing, especially on garments that get stretched and flexed repeatedly. The direction change is what actually locks it — skipping that step is the most common reason people find loose ends resurfacing later.
Trimming too close, too soon. Cut the tail flush with the fabric before you’ve stretched and checked it, and you risk it slipping back through and disappearing entirely into the wrong side — annoying but not disastrous — or, worse, pulling loose enough to peek through on the right side. Leave a small margin, stretch the fabric first, then do a final trim if needed.
Weaving a light-colored tail into dark stitches (or vice versa). On multicolor projects, always weave a tail into stitches of the same color when you can. It sounds minor, but a pale tail buried in navy stitches has a way of showing through exactly where you don’t want it to.
According to the Craft Yarn Council’s crochet finishing guidance, leaving an adequate tail and securing it properly on the wrong side of the fabric is considered standard industry finishing practice, not an optional extra step — which tracks with everything I’ve learned the hard way across a decade of projects that either held up or didn’t.
Frequently Asked Questions
How long should I leave my tail before I start weaving it in? Six inches is a reasonable minimum for most worsted-weight projects. If that same tail is also going to double as sewing yarn — joining amigurumi pieces, seaming a garment — leave closer to ten or twelve inches so you’ve got enough length for both jobs.
Is it okay to just use a knot instead of weaving in? You can, and it’ll probably hold for a while, but a knot sits as a hard lump on the surface of the fabric rather than distributing tension across several stitches the way a woven-in tail does. On slippery yarns especially, knots have a habit of working loose or migrating to the front of the work over time. I’d treat it as a shortcut for a low-stakes practice swatch, not a finished gift.
My woven-in ends are visible from the front of my project. What went wrong? Usually one of two things: the tail was accidentally pulled all the way through to the right side while weaving (easy to do without noticing on tight stitches), or it was woven into a contrasting color and is showing through by color mismatch rather than physically poking out. Check both before assuming your technique itself is the problem.
Do I need to weave in ends differently for acrylic versus wool? Not dramatically, but wool’s natural grip means it tends to stay put more easily than slick acrylic or cotton. On those grippier yarns I’ll sometimes get away with weaving in only two directions instead of three. On acrylic, especially anything with a slight sheen, I always do the full three-direction weave since it’s more prone to slowly working loose.
Wrapping Up
At the end of the day, learning how to weave in ends crochet properly comes down to a handful of small, repeatable habits — leave a real tail, weave in more than one direction, match colors where you can, and don’t rush the last five minutes just because the “real” crocheting is already done. It’s not the exciting part of any project, but it’s the part that decides whether your finished piece survives years of actual use.
If you’ve got a finishing trick of your own, or a project that taught you this lesson the hard way like mine did, tell me about it in the comments — I read every one. And if this saved you from a future unraveled stripe, sharing it or following along for more finishing-technique guides keeps this kind of content coming.