

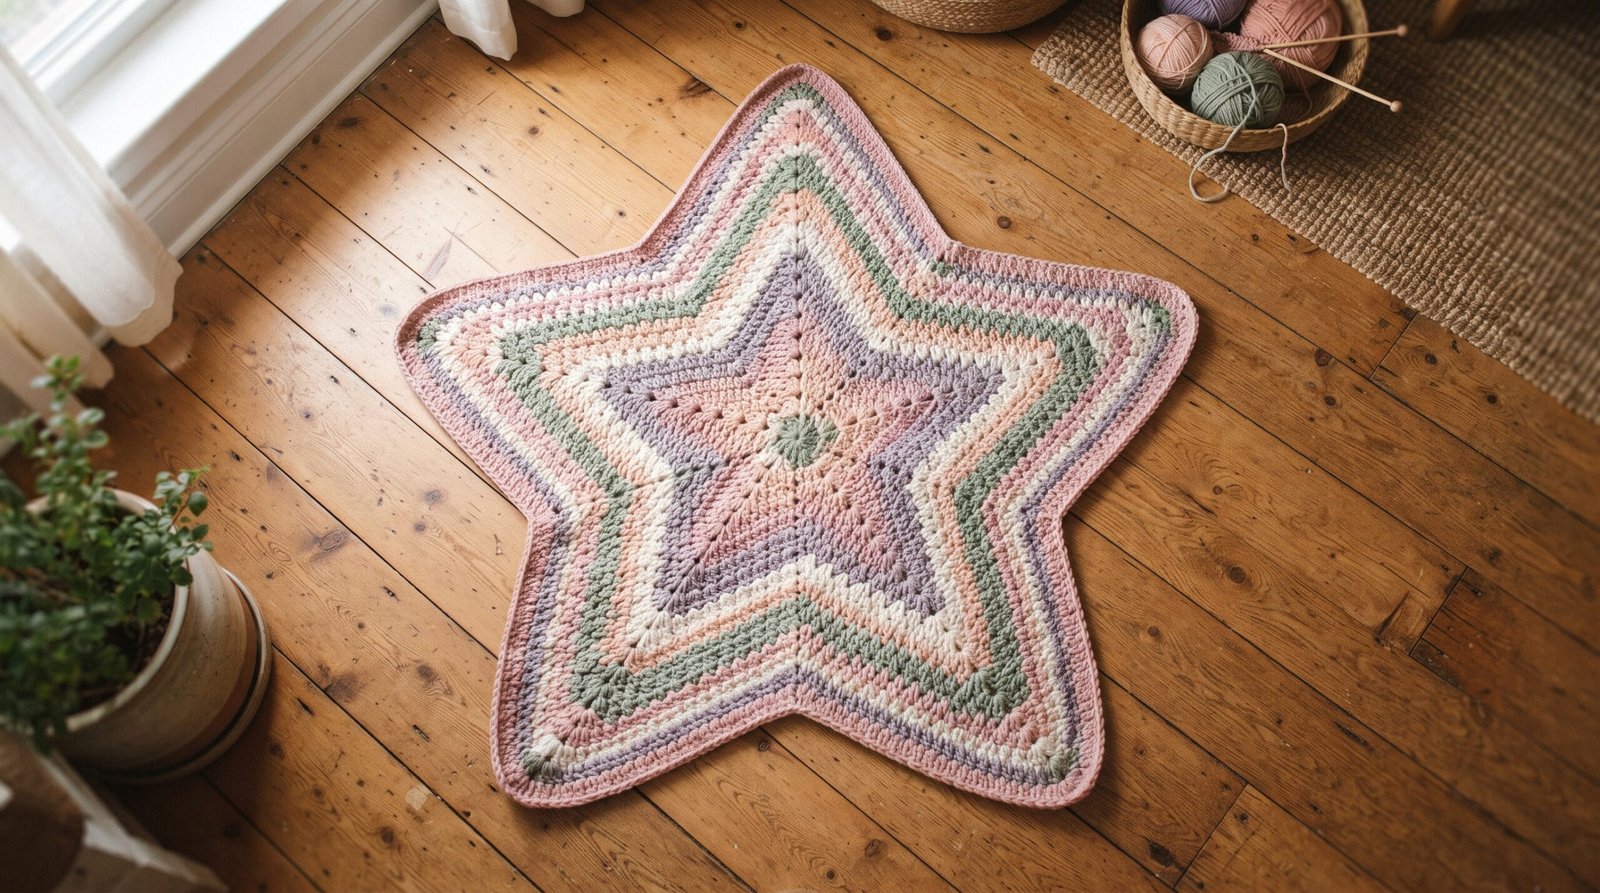
A star blanket crochet pattern looks a lot more advanced than it actually is. Underneath the shape, it’s just a circle that’s been taught to grow five points instead of growing evenly all the way around — and once you see how that works, the whole thing stops feeling mysterious.
This guide walks through exactly how that shaping works, what you need to get started, and — just as importantly — where beginners typically get stuck and how to fix it.
Why a Star Shape Works So Well for a Blanket
Most circular crochet motifs — coasters, doilies, granny circles — increase evenly around every round, which is what keeps them flat and round. A star blanket crochet pattern breaks that rule on purpose: instead of spreading the increases evenly, they’re concentrated at five points around the circle. Those five concentrated points are what pull the fabric outward into a star instead of a disc.
That’s the entire mechanism. There’s no unfamiliar stitch involved — if you’re comfortable with a basic double crochet and can count to five, you have everything you need technique-wise. What takes practice is tracking where those five points are as the rounds get longer, which is really a bookkeeping skill more than a crochet skill.
Stars also tend to hold their proportions better than plain circles as they get bigger. A large circular blanket can start to look a little shapeless past a certain size, while a star keeps reading clearly as a star from a small lovey all the way up to a full throw — which is a big part of why this construction shows up across so many different project sizes.
What You’ll Need
Yarn. A medium worsted weight (a #4 on the yarn label) is the most common starting point for this kind of project — forgiving to work with, widely available, and it holds a blocked shape well, which matters here since the five points need to stay sharp rather than slump. According to the Craft Yarn Council’s standard yarn weight system, worsted weight falls into category 4 on their 0–7 scale, which is the reference most pattern designers use so results stay consistent across yarn brands. Acrylic or an acrylic blend is a practical choice for a blanket that’s going to be washed and used regularly.
Hook. Start with the size recommended on your yarn label, then adjust based on your own tension once you swatch. Fabric that feels stiff and hard to work into usually means sizing up half a millimeter; fabric that feels loose and holey usually means sizing down.
Stitch markers. Genuinely important for this project, not optional. Because you’re tracking five specific increase points rather than increasing evenly, it’s very easy to lose exactly where a point falls once you’re a dozen rounds in. Short lengths of contrasting scrap yarn work as well as store-bought markers.
A tapestry needle, sharp scissors, and a measuring tape, for weaving in ends cleanly and tracking your progress toward your target size.
Star Blanket Crochet Pattern PDF Free Download
Easy Star 5 or 6 Pointed Star Blanket Video Guide
Is a Simple 5 Point Star Crochet Blanket Really Beginner-Friendly?
Genuinely, yes — and it’s worth explaining why rather than just asserting it. A simple 5 point star crochet blanket free pattern uses exactly one shaping concept: increase at five fixed points, work plain stitches everywhere else. That’s it. There’s no new stitch to learn beyond what most beginners already know by the time they’re comfortable with granny squares.
The “5” specifically is a sweet spot in this kind of construction. Fewer points (like four) can end up looking a little stubby once blocked. More points get visually busier and are objectively harder to track around a round, since you’re holding more markers in your head at once. Five points read clearly as a star while staying manageable to count.
If you’re looking for a star blanket crochet pattern free for beginners that explains the reasoning instead of just handing over numbers to follow blindly, that’s the goal of this guide — understanding the shaping logic means you can actually troubleshoot your own work instead of being stuck if something goes wrong partway through.
How the Shaping Actually Works, Round by Round
Every round of this pattern does one of two things: it either increases at the five points, or it doesn’t.
Starting point. Like most circular motifs, this begins in a magic ring, with a small number of stitches worked into the ring and joined to close the round. This becomes the very center of the star, the spot the five points will eventually radiate outward from.
From the second round onward, the stitch count is mentally divided into five equal sections. At the same position within each section — the “point” position — two stitches are worked into one stitch instead of one, creating the increase. Everywhere else in that section, you work one stitch per stitch, with no increase. Repeated identically across all five sections, this produces five evenly spaced points that grow a little further outward every round.
Because the number of stitches between each point grows every round (the plain sections get longer as the piece gets wider), the exact stitch count per round is something you calculate as you go, or that a designer works out and writes down after testing a specific yarn and hook combination — this is the part of a pattern that genuinely does need to be tested by hand, because it depends on the interaction between your yarn weight, your hook size, and your personal tension. Two people using “the same” pattern can get slightly different numbers if their gauge differs, which is why serious pattern writers gauge-swatch before finalizing exact counts.
A practical way to build your own: start with a small, evenly-divisible stitch count in round one (something cleanly divisible by 5). Each subsequent round, work an increase at each of your five marked points, and plain stitches everywhere else, checking after every couple of rounds that the piece is lying flat rather than cupping or rippling — the flatness check tells you whether your rate of increase is correct far more reliably than counting alone.
Keeping Track of the Five Points
This is where a star blanket crochet pattern actually gets tricky, and it’s a tracking problem more than a technical one.
Placing a stitch marker at each of the five increase points — right from round one — and moving it up into the new increase stitch at the start of every round is the single most useful habit for this project. Without markers, it’s very easy to drift: an increase placed one stitch off from where it should be will visibly skew that point over several rounds, and the mistake is much easier to prevent with markers than to fix after the fact.
Getting the Center Right
The first two or three rounds set the tone for the whole piece, so they’re worth extra attention even though they look deceptively simple.
Tension matters more here than it might seem. A magic ring and first round worked too tightly tends to make the center cup upward like a shallow bowl instead of sitting flat, and that tightness often carries through later rounds. Too loose, and the center can look floppy or slightly puckered.
Laying the piece flat on a table every few rounds — starting from round one, not waiting until several inches in — is a simple, effective way to catch shaping problems early, while they’re a quick fix rather than requiring several rounds to be undone.
Troubleshooting: When It Won’t Lie Flat
This is genuinely common, not a sign that something’s gone unusually wrong.
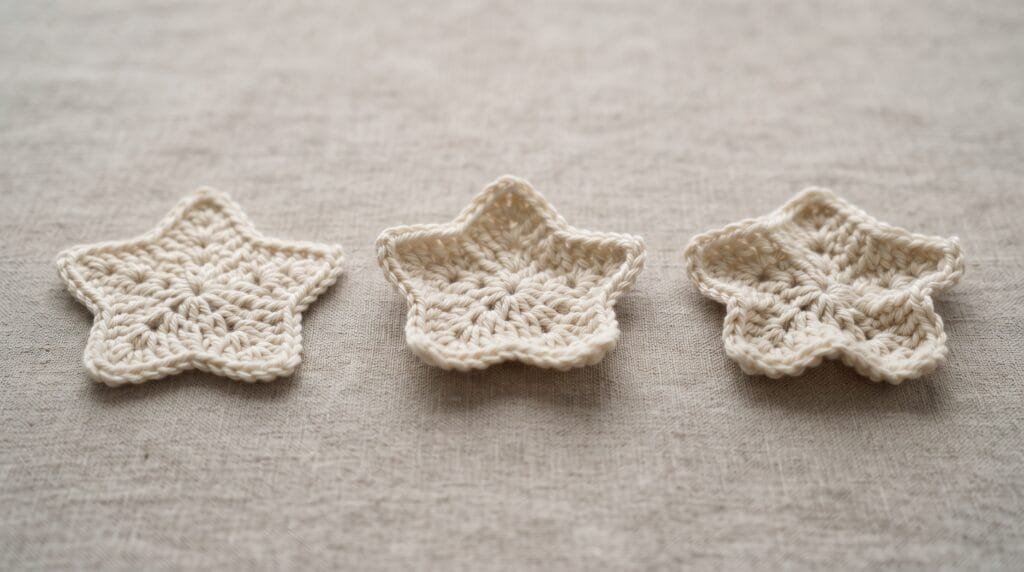
If the blanket is cupping or bowling upward, the increase rate is too slow relative to the plain stitches between points — there isn’t enough fabric to spread flat, so it curls instead. Adding stitches at each point on the next round is the fix.
If the edges are rippling or ruffling, the opposite is happening — too many increases for that round. There’s more fabric than the round needs, so it waves. Frogging back to the last round that lay flat, recounting stitches in each of the five sections against what that round should have needed, and reworking from there resolves this.
If one point looks visibly different from the other four, an increase likely drifted off its correct position at some point. This is almost always a tracking issue rather than a tension issue, and it’s exactly why stitch markers on every round — not just the first few — matter so much once the piece gets larger.
None of this means the shape has gone permanently wrong. Frogging back a round or two on this kind of pattern is a completely normal part of the process, and it’s part of why this construction is a reasonable choice for a first shaped project: mistakes tend to show up early and clearly, and correcting them doesn’t mean starting over from the magic ring.
Sizing It for What You Need
This construction scales without requiring any change in technique. For a baby blanket or small lovey, increases stop once the piece reaches roughly the size of a large receiving blanket. For a throw, the same shaping logic simply continues for more rounds. There’s no new skill involved in making it bigger — just more rounds and more yarn.
This is also where a 5 point star crochet blanket free pattern has an advantage over a pattern with a single fixed size: because the shaping logic doesn’t change as it grows, the finished size can be decided as you go, based on how it looks, rather than being locked into one predetermined measurement.
If color changes are part of the plan — a contrast border, a gradient, alternating stripes — switching yarns at the very start of a round (rather than partway through) keeps color changes clean and stacks the join points along a single seam line instead of scattering them around the piece.
Finishing Touches
Fasten off securely. A rushed fasten-off is one of the easier things to get wrong and regret later, since it can work loose over time. Our guide on how to fasten off crochet covers the technique in more detail.
Weave ends in two directions, not a single straight line — changing direction partway through locks the tail in place mechanically, which matters more on something that will be washed and used regularly than on a purely decorative piece.
Block the finished piece. This step is easy to skip and makes a real visual difference. Soaking the piece in cool water with a gentle wash for about twenty minutes, pressing out excess water without wringing, then pinning it flat on a foam mat or clean towel — stretching each of the five points into shape — and letting it dry fully before removing the pins evens out small tension inconsistencies and sharpens the points in a way that’s hard to achieve through crocheting alone.
Trim tails close, but not flush. Stretching the surrounding fabric slightly before cutting lets the trimmed end spring back inside the stitch rather than sitting exposed on the surface.
Caring for the Finished Blanket
Acrylic yarn is generally machine washable on a cold, gentle cycle, with a mesh laundry bag offering extra protection for the points. Laying it flat to dry, rather than hanging it, avoids the stretching that comes from a wet blanket’s water weight pulling against gravity.
Wool or wool-blend versions typically call for hand washing in cool water with a wool-safe detergent, and the same flat-drying approach. High heat — including the dryer — is generally worth avoiding for either fiber type, since it can affect both shape and texture.
Common Questions About This Pattern
Is this really doable as a first shaped project? The core skill is placing increases at five fixed points instead of increasing evenly — genuinely the only new concept involved if you’re already comfortable with basic double crochet.
Can a different yarn weight be used instead of worsted? Yes, with adjustments to hook size and an expected change in finished measurements. A DK-weight version tends to produce a lighter, more drapey throw or baby blanket; bulky yarn produces a larger blanket more quickly, with a chunkier finished look.
Why does it keep rippling no matter what I try? This almost always comes down to too many increases relative to the round being worked. Going back to the last flat round, recounting stitches in each of the five sections against what that round needed, and reworking from there resolves it more reliably than pushing forward and hoping it evens out.
How long does a star blanket crochet pattern typically take? This depends heavily on size and yarn weight, but tracking five increase points does slow the pace compared to plain rounds, especially early on — most people find the rhythm becomes more automatic after the first several rounds.
A Shape Worth Trying
What makes a star blanket crochet pattern a genuinely good project to learn from is that it teaches a real, transferable concept — how concentrated increases shape fabric — using only stitches most beginners already know. It’s also unusually forgiving: mistakes tend to be visible early, and fixing them rarely means starting completely over.
If you give this a try, we’d love to see how it turns out — share your project in the comments, along with your yarn choice and finished size.



Thank you