
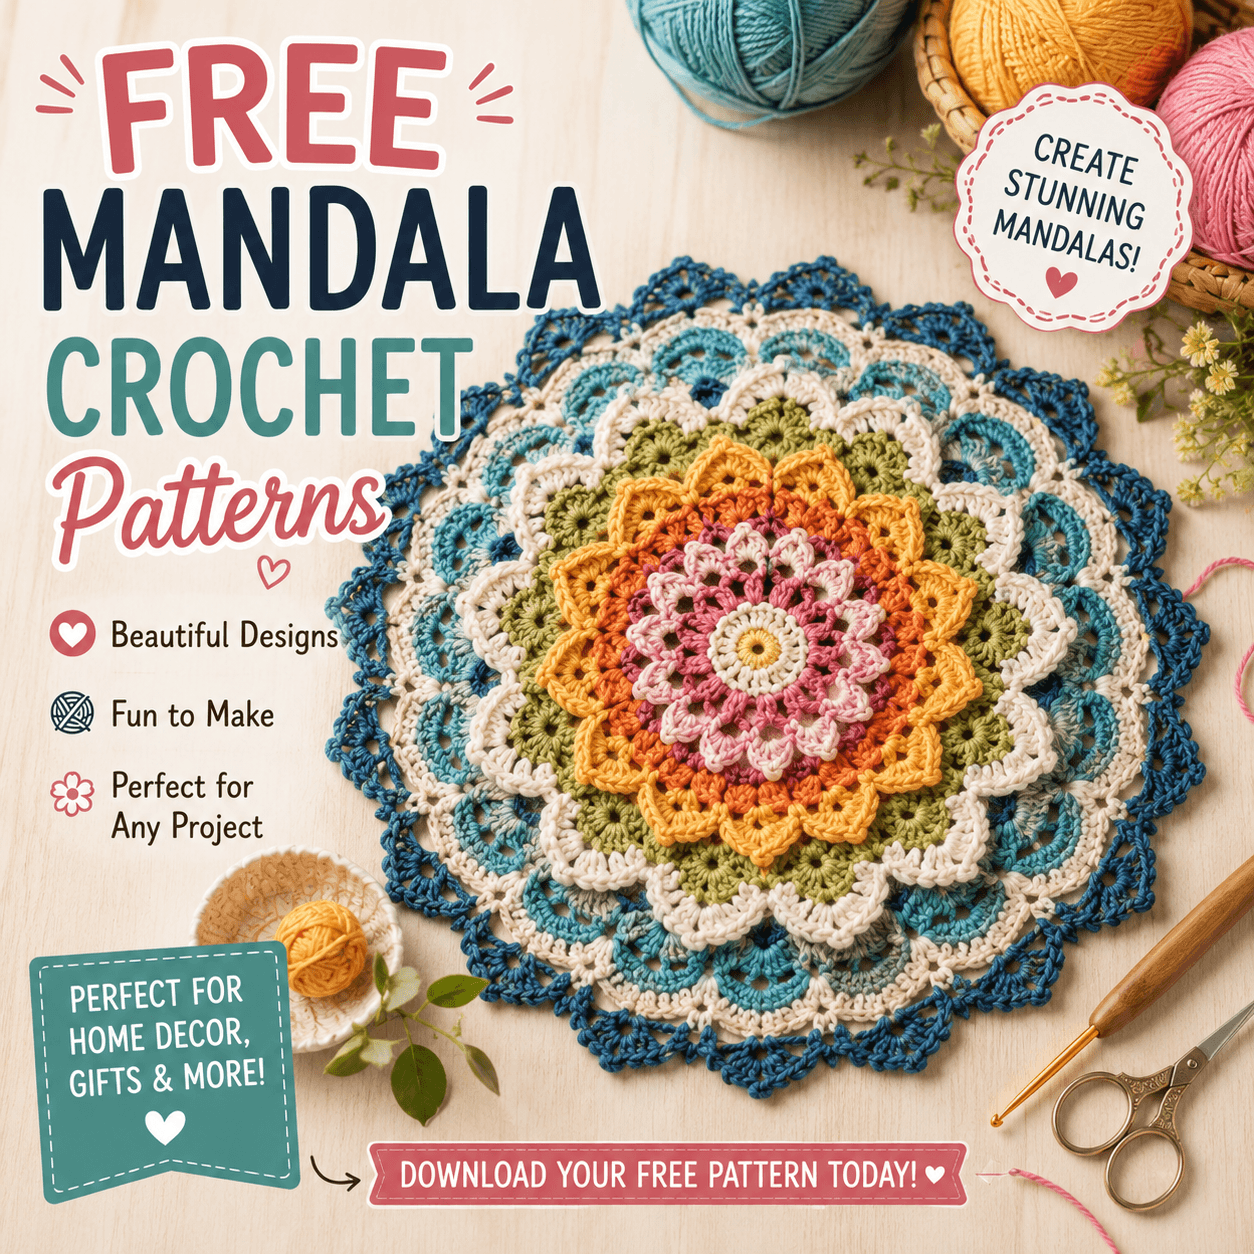
A mandala crochet pattern is really a conversation between two things happening at once: the shaping that keeps a circle lying flat as it grows, and the color and stitch-texture decisions that make each ring visually distinct from the one before it. This guide walks through both halves of that conversation — how the flat-circle math works, how to handle the sheer number of color changes a mandala involves, and how to vary stitch texture ring to ring without the piece losing its shape.
If you’ve made a granny square or a simple circle motif before, the individual stitches here won’t be unfamiliar. What’s different is the sheer density of decisions per project — a mandala with a dozen rings might involve a dozen separate color changes and several different stitch patterns, all needing to stay in sync with the same underlying circle shaping.
How Mandala Shaping Differs From Other Circular Crochet
It’s worth being specific about this, since “circular crochet” covers a lot of different constructions. Our star blanket guide covers a circle that’s deliberately pushed away from being round, concentrating increases at five points to pull the fabric into a star shape. A mandala does close to the opposite: increases are spread evenly around the entire round, every round, specifically to keep the piece a true, flat circle rather than letting it warp toward any particular shape.
This even-increase approach is the same basic principle behind any flat circular motif — a doily, a coaster, a plain circle appliqué — but a mandala pushes it further by combining that shaping with frequent color changes and varied stitch patterns ring to ring, which a plain solid-color circle doesn’t have to manage at the same time.
What You’ll Need
Yarn in multiple colors. This is really the defining material decision for a mandala — most designs use somewhere between four and a dozen colors, so it’s worth planning a palette before buying rather than grabbing colors individually as you go. DK or worsted weight both work well; DK produces a more delicate, doily-like result, while worsted grows faster and reads more boldly from a distance, which matters if the finished piece is meant to hang on a wall rather than sit on a table.
A hook sized for your chosen yarn, following the label as a starting point. Unlike amigurumi, there’s no reason to size down here — a mandala isn’t stuffed, so the fabric doesn’t need the same density.
Stitch markers, genuinely essential for tracking exactly where a round starts, since mandalas are almost always worked in joined rounds (rather than a continuous spiral) to keep each color change clean at a single point rather than smeared across the round.
Blocking mats and pins, more important here than for most projects. A mandala with any lace-style rounds (picots, shells, open mesh) will look noticeably better blocked into a precise circle than left unblocked, since blocking is what actually flattens out the slight waviness that open stitch patterns tend to have straight off the hook.
A tapestry needle and sharp scissors, needed more often than usual given how many yarn tails a multi-color mandala produces.
Planning a Ring Chart Before You Start
Given how many decisions a mandala involves — increase rate, stitch texture, and color, repeated for every single ring — working from a written plan is far more manageable than deciding each round on the fly.
A simple ring chart doesn’t need to be elaborate: a numbered list of rounds, with the stitch pattern and color noted next to each one, is enough to keep the whole project organized. Sketching a rough cross-section first — even just a series of concentric circles on paper, colored in with the planned palette — helps catch an unbalanced color sequence (too many similar tones bunched together, or one color repeated too close to itself) before it’s actually committed to yarn.
This kind of planning also makes it much easier to adjust the project size after the fact. If a mandala is coming out smaller than intended, having a written chart means you can insert an extra plain round or two at a chosen point without disrupting the color logic of the rest of the piece — something considerably harder to do gracefully if the whole sequence was being improvised round to round.
Keeping the Circle Flat
The underlying math for a flat circle is a widely used, well-established convention, not something unique to any one pattern: each round increases by the same number of stitches as were present in round one, spread evenly around. If round one has eight stitches, round two increases by eight (to sixteen), round three by another eight (to twenty-four), and so on. This keeps the ratio of circumference to radius growing at the correct rate to stay flat, rather than curving inward (cupping) or outward (rippling) as the piece gets larger.
In practice, most mandala patterns don’t increase by the full round-one count in every single round once the piece gets larger — instead, increase rounds and plain (non-increasing) rounds tend to alternate, since a very large, dense increase pattern isn’t necessary once there’s already a lot of fabric to distribute stitches across. This is why checking that the piece lies flat every few rounds, the same habit worth building for the star blanket’s shaping, matters here too — it tells you in real time whether your current increase rate is still correct, rather than relying purely on a formula that may need adjusting for your specific stitch pattern and gauge.
Managing the Color Changes
This is the part of mandala-making that surprises people who haven’t made one before — the sheer number of yarn tails a multi-color piece generates.
Joining a new color cleanly at the start of each round is worth doing consistently the same way every time, both for a tidy finished look and for your own sanity keeping track of where each round begins. A standing stitch (starting the round with a slip knot placed directly on the hook in the new color, rather than chaining up from a slip stitch join) tends to leave a cleaner, less bulky transition than the traditional join-and-chain method, and it’s worth practicing on a swatch if you haven’t used it before.
Weaving in tails as you go, rather than saving all of them for the end, is worth the extra few seconds per round on a project with this many color changes. Working the new color’s tail in over the next several stitches (crocheting over it as you work, rather than leaving it to weave in later with a needle) secures it invisibly and means you’re not facing a mountain of loose ends once the last round is finished.
Cutting yarn at the end of every round, rather than trying to carry an unused color up the back of the work, is standard for mandala construction, since colors are rarely reused round to round in the same sequence a striped project might reuse them. Planning your color order before starting, so you’re not deciding on the fly which skein comes next, keeps this process moving smoothly rather than becoming a color-matching puzzle mid-project.
Varying Stitch Texture Ring to Ring
What separates a mandala from a plain concentric-circle motif is usually the variety of stitch textures used across different rings, not just color.
Solid rounds — plain single or double crochet worked consistently around — create a dense, smooth ring and are the easiest to keep perfectly flat, since the increase math is straightforward and consistent.
Picot rounds add small three-or-so-chain loops at intervals around a round, creating a delicate scalloped edge effect partway through the piece rather than only at the final border. These read as more decorative and lighter-weight than solid rounds, but they also introduce more potential for slight unevenness, since the picots themselves aren’t taking up the same stitch-count “space” as a plain stitch would.
Shell and cluster rounds — groups of several stitches worked into a single stitch, alternating with skipped stitches — create a scalloped, dimensional texture that reads very differently from either solid or picot rounds. These need more careful stitch-count tracking than solid rounds, since the increase happens in clusters rather than evenly stitch-by-stitch, and it’s easy to lose track of whether a given round’s overall stitch count is actually keeping pace with the flat-circle math discussed above.
Popcorn or bobble rounds add raised, three-dimensional texture at intervals, which can be striking as an occasional accent ring but tends to look busy if overused across several consecutive rounds — most well-balanced mandala designs alternate a textured round with one or two plain rounds afterward, letting the eye rest between more elaborate rings.
Free Square Mandala Crochet Patterns: Turning a Circle Into a Square
A square mandala uses the same underlying rings-and-color-changes approach covered above, but at some point in the piece, the shaping switches from circular even-increases to a different kind of concentrated increase — worked at exactly four points instead of continuously around the whole round.
This is conceptually the same idea behind the five-point increase logic in our star blanket guide, just applied at four points instead of five, and for a different purpose — instead of pulling the fabric into a star, four evenly spaced increase points (typically placed at what will become the four corners) pull a circle’s edge outward into four straight sides, turning a round motif into a square one by the outer few rounds.
In practice, most square mandala patterns work as a plain circular mandala for the inner rings (however many rings you want visible as circular rings inside the square), then transition to the corner-increase method for the final few rounds — often worked in a single solid color for those outer square rounds, both to visually frame the more detailed circular center and because tracking four corner increases alongside a color change at the same time is a lot to manage simultaneously.
Mandala Crochet Pattern PDF Free Download
Free Mandala Crochet Patterns for Beginners: Where to Start Simpler
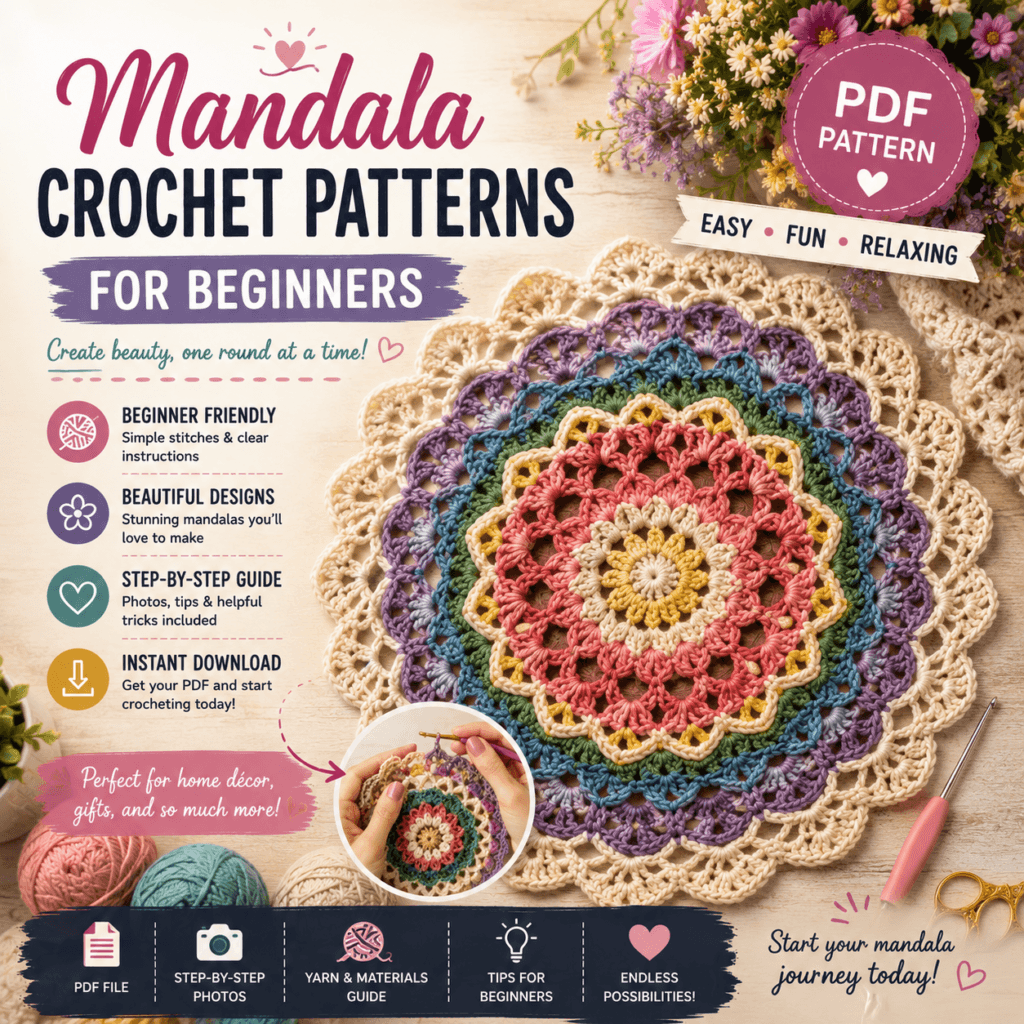
A full, richly textured mandala with a dozen colors and five different stitch patterns is a genuinely advanced project. A version built for free mandala crochet patterns for beginners strips several variables out at once without losing what makes a mandala a mandala: fewer colors (four to six, rather than a dozen), solid rounds throughout rather than mixing in picot, shell, and popcorn textures, and a worsted or bulky yarn weight, which grows the piece faster and makes each round’s stitch count easier to track by eye.
This simplified version still teaches the two core mandala skills — flat circular increasing and clean color changes — without also asking a beginner to manage cluster-stitch counting or picot spacing at the same time. Once those two fundamentals feel comfortable, adding one new stitch texture at a time to a subsequent project is a more manageable way to build up to a fully elaborate mandala than attempting all the variables at once.
Choosing a Color Sequence
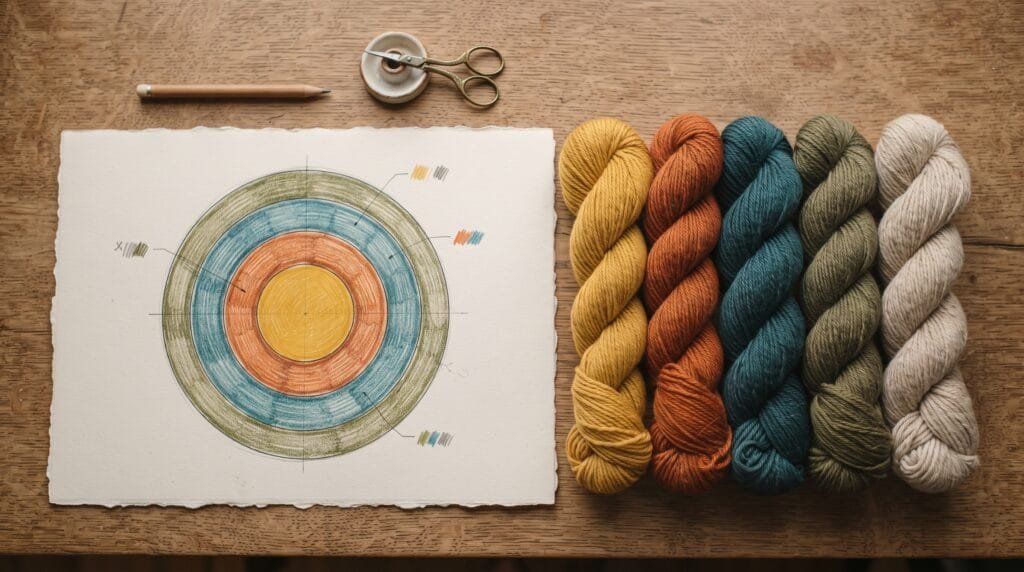
With so many color decisions in a single project, it helps to have an actual framework rather than picking colors round by round on instinct.
A complementary scheme — colors positioned opposite each other on the color wheel, like a blue paired with orange — tends to create high contrast between adjacent rings, which reads as bold and graphic from a distance. An analogous scheme — colors sitting next to each other on the wheel, like blues shading into teals and greens — creates a softer, more blended transition ring to ring, which suits a mandala meant to feel calm or cohesive rather than eye-catching. Adobe’s color wheel tool lays out these relationships interactively and is a genuinely useful way to test a ring sequence before committing to yarn purchases, since swapping colors on screen costs nothing compared to swapping skeins mid-project.
A useful middle-ground approach for a first mandala: pick one dominant color that repeats every third or fourth ring as an anchor, filling the rounds between with a rotating set of two or three accent colors. This keeps the overall piece visually tied together even with several different colors involved, rather than reading as a random sequence of unrelated rings.
Blocking the Finished Piece
Blocking does more visible work on a mandala than on almost any other crochet project, specifically because the entire point of the piece is a precise, flat circular (or square) shape — any waviness left unblocked undermines that geometry directly.
Soaking the finished piece, gently squeezing out excess water without wringing, then pinning it out on a blocking mat with T-pins placed at regular intervals around the outer edge (working from the center outward, adjusting as you go, rather than pinning one side fully before starting the other) pulls the piece into a genuinely even circle or square. For pieces with picot or scalloped edges specifically, pinning out each individual point along the edge, rather than just the overall circumference, gives a noticeably crisper finished look than letting the edge dry unpinned.
Common Problems and Their Causes
The mandala won’t lie flat, cupping or rippling. This is the same underlying issue as the star blanket’s flatness problems, just with a different fix direction — too few increases relative to the round’s circumference causes cupping, too many causes rippling. Because mandala increase rates often change between plain and increase rounds, recheck flatness specifically after any round where the increase pattern changes, not just at the very end.
Visible gaps or holes at color change points. This usually comes down to how the join was worked rather than a shaping problem — a loose standing stitch or an under-secured tail leaves a visible gap right at the color transition. Snugging the first stitch of a new color slightly tighter than the surrounding stitches, and weaving the tail in immediately rather than leaving it loose, both help.
The square mandala’s corners look rounded instead of sharp. This means the corner increases weren’t concentrated tightly enough at a single point — if the increase is spread across two or three neighboring stitches instead of stacked at one exact corner point, the resulting corner reads as a soft curve rather than a defined point. Marking the exact four corner stitches with stitch markers, the same habit recommended in the star blanket guide, prevents this drift.
Mandala Crochet Pattern (Video Guide)
Common Questions About Mandala Crochet Patterns
How many colors does a mandala crochet pattern typically use? This varies enormously by design, from as few as three or four in a simplified beginner version up to a dozen or more in an elaborate one. There’s no fixed rule — it’s really a design choice based on how much visual complexity you want, balanced against how much color-change management you’re comfortable with.
Can I turn any circular crochet motif into a mandala just by adding more colors? Mostly yes, in the sense that the underlying flat-circle shaping is the same regardless of color. What makes something read distinctly as a “mandala” rather than just a striped circle is usually the combination of frequent color changes with some variation in stitch texture ring to ring, not color alone.
Why does my mandala look flat and lifeless even with several colors? This is often a texture problem rather than a color problem — an entirely solid-stitch mandala, even in a rich, varied palette, can read as visually flat compared to one that mixes in even one or two textured rounds (a shell round, a picot edge) to create some dimensional variation for the eye to catch on.
Is a square mandala harder than a round one? It adds one additional skill — tracking four corner increase points instead of managing even distribution around the whole round — but it’s not dramatically more difficult once that one skill feels comfortable, especially since the technique is really just the star blanket’s point-based shaping applied differently.
What’s the fastest way to fix a mandala that’s come out noticeably smaller than planned? If you’re working from a ring chart as suggested above, the easiest fix is inserting one or two additional plain rounds at a point in the sequence where a solid color already appears, so the extra rounds blend into the existing color logic rather than standing out as an obvious patch. Adding rounds at the very end, after the piece already looks finished, tends to be more visually obvious than working the adjustment in earlier while there’s still design flexibility.
Does a mandala need to have an even number of rings? No — there’s no structural requirement either way. It’s purely an aesthetic choice, and asymmetric ring counts (a wider band of one texture, a narrower band of another) are common in more advanced designs specifically because strict evenness isn’t the goal the way it might be in a more geometric project.
Bringing the Rings Together
A mandala crochet pattern comes down to the same handful of decisions repeated ring after ring: how much to increase to stay flat, which stitch texture to use for this particular ring, and which color to reach for next. None of it requires an unfamiliar stitch — it’s really an exercise in planning and consistency, applied one ring at a time, more than it is a technically difficult project.
If you make one, we’d love to see your color choices — share a comment with your palette and how many rings you ended up with, and follow along for more technique guides like this one.