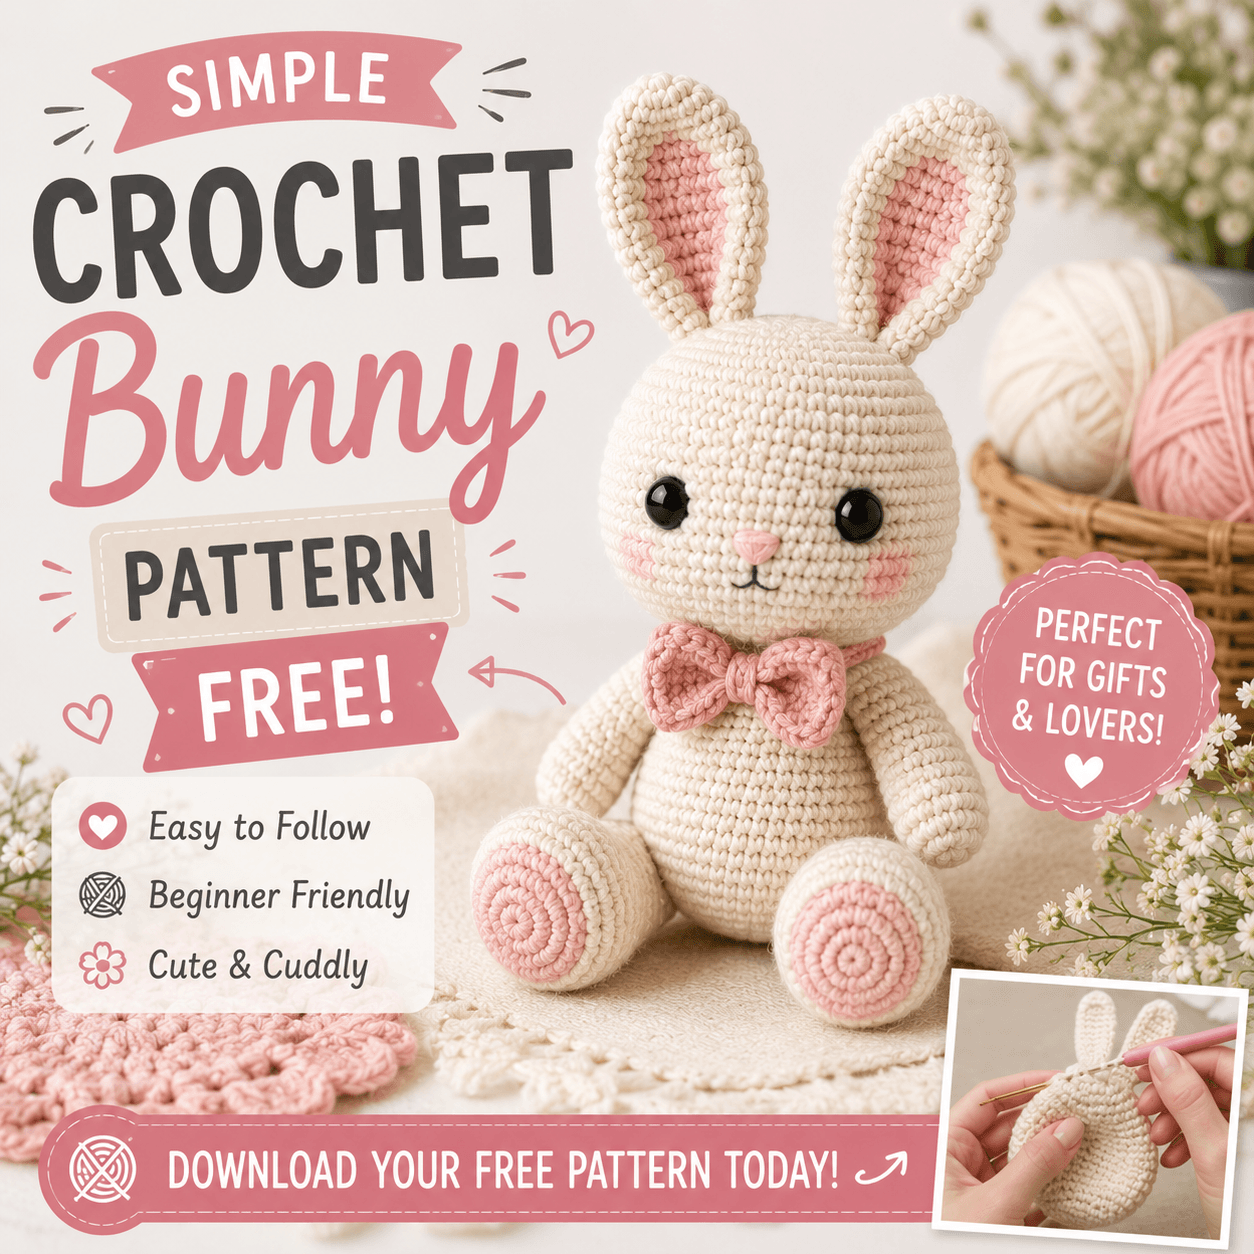
A crochet bunny pattern free of stiff, awkward proportions comes down to getting a handful of details right: ear length and posture, that distinctive round little tail, and a body shape with enough hip and haunch to look like it could actually hop. This guide walks through those bunny-specific decisions — the parts of amigurumi construction that change the most depending on which kind of bunny you’re picturing.
If you haven’t worked through the basics of amigurumi shaping before — magic rings, sphere construction, invisible decreases — our crochet cow pattern guide covers those fundamentals in more depth than there’s space for here. This guide builds on that foundation and focuses on what makes a bunny read as a bunny.
What Actually Makes Something Look Like a Bunny
Compared to a cow or a dog, a bunny’s silhouette is unusually recognizable from just two features: the ears and the tail. A rounded body with long upright ears reads as “bunny” almost instantly, even before any other detail is added, which makes those two elements worth spending the most design attention on.
The body itself tends to follow a fairly consistent bunny logic regardless of style — a compact, rounded torso, noticeably larger and more rounded through the hips and haunches than the shoulders, since real rabbits carry much of their bulk and power in their hind legs. This hip-heavy proportion is part of what gives a bunny its characteristic sitting posture, and it’s worth exaggerating slightly in an amigurumi version rather than keeping the body perfectly symmetrical front to back.
What You’ll Need
Materials here follow the same general logic as any amigurumi project, with a couple of bunny-specific notes.
Yarn. Worsted weight remains the easiest starting point, for the usual reasons — wide color range, manageable working speed. Pastel and light neutral shades (cream, soft gray, blush pink) are especially common for bunnies specifically, partly for a classic springtime association and partly because lighter colors show off ear and tail shaping more clearly than very dark yarn does.
Hook, sized down from the yarn label as usual, for the same dense, stuffing-proof fabric covered in the cow guide.
A small amount of contrasting or textured yarn for the tail, if you’re planning a fluffy pom-pom-style tail rather than a crocheted one — more on this below.
Safety eyes or embroidery supplies, following the same safety reasoning as the cow guide: plastic safety eyes are a small, hard component, and embroidered eyes are the safer choice for a toy genuinely intended for a child under three.
Ear Length, Shape, and Posture
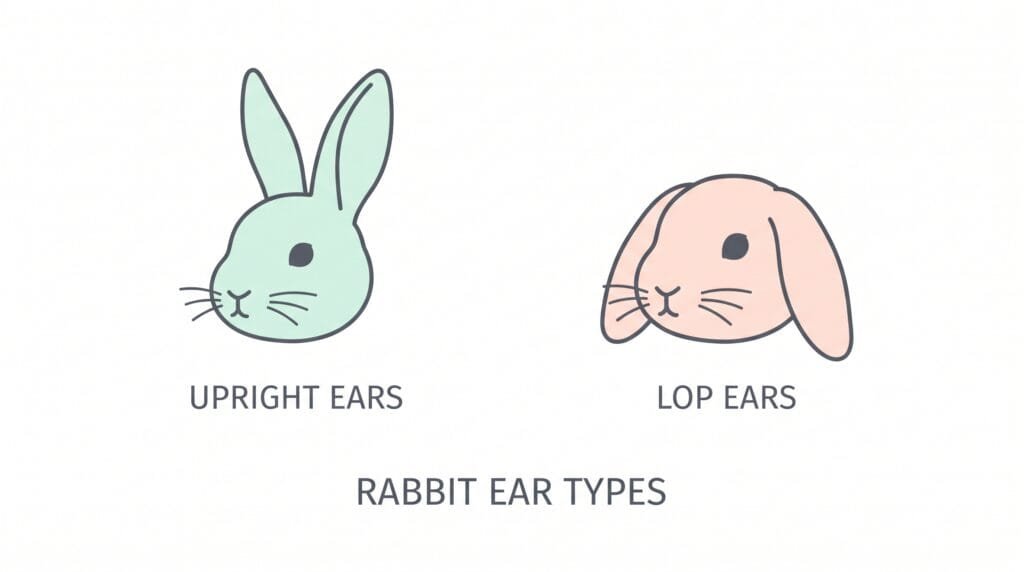
Bunny ears do more visual work than almost any other single feature, and there’s real variation worth knowing about before you start.
Long, upright ears — the classic bunny silhouette most people picture — are usually worked as elongated, slightly tapered ovals, worked flat rather than in the round, with a firm enough fabric (again, a slightly smaller hook helps) to hold themselves upright once attached. A very thin strip of felt or a pipe cleaner tucked inside before closing the seam, the same trick mentioned for prick dog ears, adds extra support if the yarn alone doesn’t hold the shape confidently.
Lop, or floppy, ears are a genuinely distinct style, not just a limper version of upright ears. According to the American Rabbit Breeders Association’s recognized breed list, lop-eared varieties are an officially recognized category of real rabbit breeds, not a stylistic invention — meaning a floppy-eared amigurumi bunny is just as “correct” as an upright-eared one, simply representing a different breed style. Construction-wise, lop ears use the same basic oval shape as upright ears but are worked more loosely, left unstuffed, and sewn on with the top of the ear anchored while the rest hangs down naturally, similar to the floppy dog ear construction covered in our crochet dog guide.
Ear length relative to head size is worth deciding deliberately rather than defaulting to whatever feels proportionate. Exaggeratedly long ears (noticeably longer than the head itself) read as more stylized and cartoonish; shorter, more modestly sized ears read as a more realistic, grounded bunny shape. Neither is more “correct” — it’s a style decision that should stay consistent with the rest of the piece’s overall proportions, and it’s worth holding the two ear pieces up against the finished head before attaching either one permanently, just to confirm the length still looks balanced once it’s next to the actual body rather than judged in isolation.
The Tail: Small, Round, and Different From Everything Else in This Guide
A bunny’s tail is unlike almost any other amigurumi animal’s tail, and it’s worth treating as its own small technique rather than adapting a cow or dog tail approach.
A crocheted pom-pom-style tail is built by working a very small, tightly shaped sphere — following the same increase-plain-decrease logic covered in the cow guide, but stopped much earlier, since a bunny tail is proportionally tiny compared to the body — then stuffed firmly enough to hold a genuinely round shape. Because the tail is so small, even minor inconsistencies in the increase spacing are far more visually obvious than they would be on a larger piece, so it’s worth taking extra care with stitch markers here despite the tail’s small size.
A genuine yarn pom-pom, made separately by wrapping yarn around a fork, a cardboard circle, or a pom-pom maker tool, then trimmed into a tight round shape and sewn on, is a common alternative to a crocheted tail. This produces a noticeably fluffier, more textured result than a crocheted sphere can achieve, and it’s a reasonable technique to reach for specifically because a bunny tail’s real-world texture (dense, fluffy fur) is harder to replicate in smooth stitches than in actual wrapped yarn. A pom-pom tail also trims easily after attaching, which makes it more forgiving of an imperfect first attempt than a crocheted tail, since a slightly uneven pom-pom can simply be trimmed rounder with scissors after the fact.
Whichever method you use, the tail’s small size relative to the body is part of what sells the shape — a tail sized too large relative to the body tends to read as a completely different animal (or an odd hybrid) rather than a bunny.
Shaping the Hips and Sitting Posture
Because so many bunny amigurumi are designed in a seated position, hip and haunch shaping deserves more attention here than it typically gets in a general amigurumi guide.
A basic sphere-shaped body, worked exactly as covered in the cow guide, will produce a bunny, but a more convincing seated posture usually comes from working the lower portion of the body slightly wider than the upper portion — either by adding a round or two of extra width partway through the body’s construction, or by attaching separately shaped haunch pieces to the sides of a narrower central body. The second approach takes more assembly work but gives more deliberate control over exactly how pronounced the hip shape looks.
Legs, when included at all, are often shorter and less prominent on a seated bunny than on a standing dog or cow — many bunny amigurumi designs omit visible front legs almost entirely, relying on small stitched or embroidered paw shapes at the front of the body instead of separate limb pieces, since a seated bunny’s front paws are usually tucked in close to the body rather than extended. Back legs, when they’re included as visible pieces rather than folded into the haunch shaping itself, tend to be short and wide rather than the longer, slender cylinders used for a standing dog’s legs — proportioned more like a folded wedge than a tube, to sit flush against the body’s base instead of extending outward.
Face Shaping: Nose, Whiskers, and Cheeks
A bunny’s face reads differently from a cow’s or dog’s largely because of proportionally larger cheeks and a distinctly small, often V-shaped or triangular nose rather than a projecting snout.
Cheeks are frequently suggested with a subtle widening at the lower half of the head — worked as a slight bulge in the shaping rather than a separate attached piece — which gives the face a fuller, softer look than a perfectly round head would.
The nose is usually small and understated compared to a cow’s or dog’s snout — often just embroidered directly onto the face in a small triangular or Y-shape, rather than built as a separate three-dimensional piece. This is a case where less genuinely reads as more accurate; an overly large, protruding snout on a bunny tends to look like a mismatched dog or mouse face rather than a rabbit.
Whiskers, if included, are typically a few lengths of embroidery thread or fishing line stitched through the face at the cheek area — a small detail, but one that adds a surprising amount of personality and realism for very little extra work.
Crochet Bunny Pattern PDF Free Download
Choosing a Color Approach
A solid-color bunny is the simplest option and works well for a stylized, toy-like result, but a lot of realistic-looking bunny amigurumi use a deliberate two-tone approach instead.
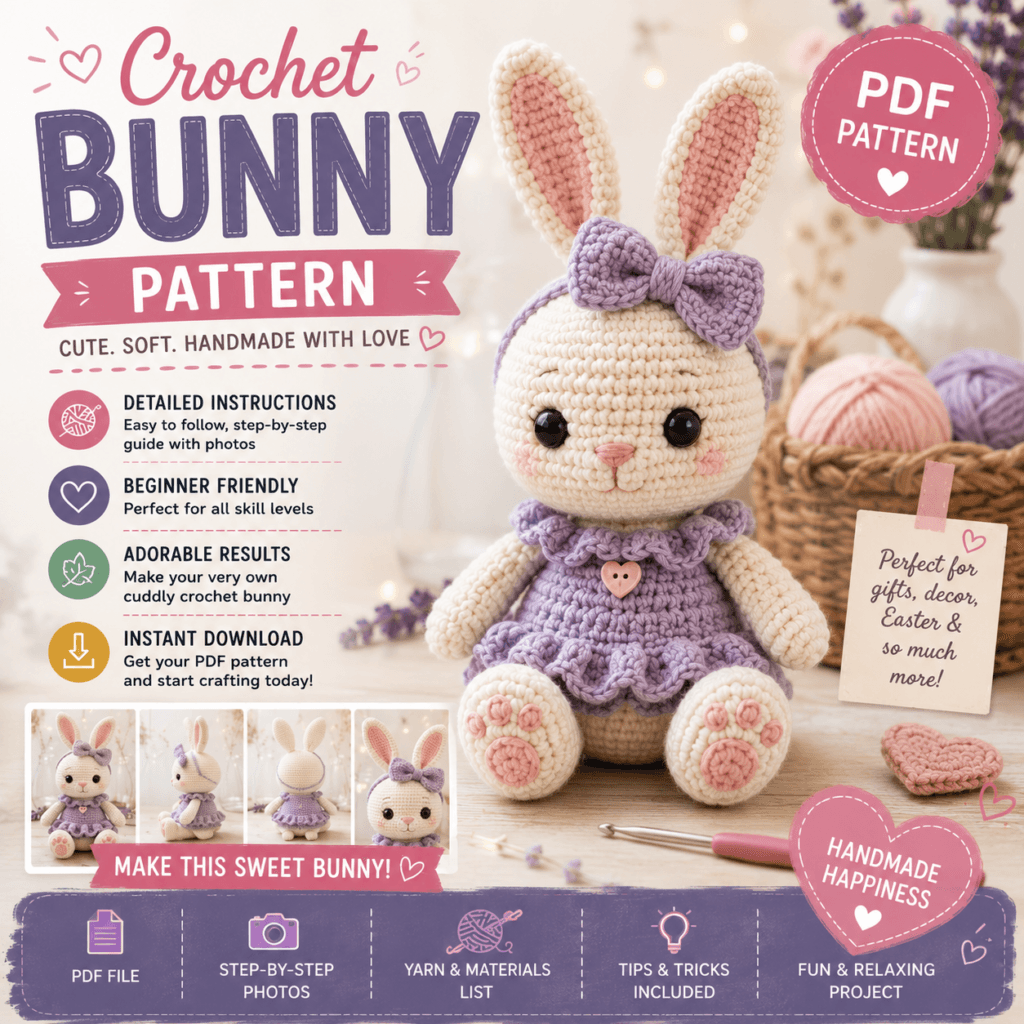
Contrasting inner ears — a lighter pink or cream worked into the inner portion of an otherwise darker-colored ear — is one of the most common and visually effective color details in bunny amigurumi specifically, since real rabbits typically show exactly this kind of contrast. This is usually achieved either by crocheting the ear in two separate color sections joined together, or more simply, by cutting a small oval of felt or contrasting fabric and stitching it onto the inner ear surface after the main ear piece is finished — a considerably faster approach if color-changing a small flat piece feels fiddly.
A contrasting belly or chest patch, using the same invisible color change technique covered in the cow guide, is another common realistic touch — many rabbit colorations feature a lighter underside than the rest of the body, and a patch of white or cream worked into the lower-front section of the body communicates that with minimal extra construction complexity.
Two-tone or patched coats, similar to the cow’s Holstein-style markings, are less common on bunnies specifically (most rabbit breeds are more uniformly colored than dairy cattle) but entirely reasonable as a stylistic choice rather than a strictly realistic one, especially for a design aimed at looking playful rather than breed-accurate.
Sizing for Different Uses
Bunny amigurumi get made at a wider range of sizes than some other animals, partly because the finished use varies so much — worth deciding on a rough size category before starting, since it affects yarn weight and construction choices throughout.
Small, keychain, or bag-charm sized bunnies (roughly two to four inches) work best in a finer yarn weight (sport or DK) with a correspondingly small hook, since a bulkier yarn at that scale tends to lose the shaping detail almost entirely — the ears in particular need enough stitch resolution to hold a recognizable oval shape rather than becoming a shapeless nub.
Medium, shelf-decor sized bunnies (roughly six to ten inches) are the most common size range for the techniques covered throughout this guide, and worsted weight yarn handles this range comfortably without the shaping becoming either too fiddly or too coarse.
Large, nursery or Easter-display sized bunnies (over twelve inches) generally call for a bulkier yarn and larger hook to keep the working time reasonable, but they also make hip and ear proportion mistakes considerably more visible, simply because there’s more surface area for any inconsistency to show up on — worth being especially careful with stitch markers and flatness checks at this scale.
A Simple Crochet Bunny Pattern Free Approach for a First Attempt
If the hip shaping, lop-ear construction, and separate tail technique feel like a lot to manage at once, a simple crochet bunny pattern free of that added complexity strips the project down to its essential recognizable elements: a single rounded body-and-head sphere (no separate hip shaping), short upright ears in the simplest flat-oval construction, a basic crocheted pom-pom tail rather than a wrapped yarn one, and embroidered facial features instead of any separately attached pieces. This combination still produces something unmistakably bunny-shaped — long ears and a round tail carry a surprising amount of that recognition on their own — while removing the trickiest proportional decisions until a first project or two is finished.
As with any amigurumi piece, finishing matters as much as construction. Our fasten-off guide is worth reviewing if you’re not confident your final stitches will hold up to handling, especially on small pieces like ears and tails where a loosened end is both more likely and more visible.
Common Problems Specific to Bunny Proportions
Ears look limp or fall over even though they’re meant to stand upright. This is almost always a fabric density problem — an ear worked with too large a hook, or in too loose a stitch, doesn’t have enough structure to hold itself vertical regardless of how it’s attached. Sizing down the hook specifically for the ear pieces, even if the rest of the body uses a slightly larger one, often resolves this without needing an internal stiffener.
The seated pose looks unstable or the bunny tips forward. This usually traces back to hip shaping that wasn’t angled correctly — if the widened haunch section isn’t providing enough of a flat base at the bottom, the piece has nothing stable to balance on. Flattening the very bottom few stitches slightly, rather than leaving the base as rounded as the rest of the sphere, gives the finished piece an actual surface to sit on.
The tail looks too large or too small relative to the body. Because there’s no universal ratio, this is really a matter of stepping back and comparing proportions visually rather than following a fixed rule — a tail is generally more convincing erring smaller than feels intuitive, since real rabbit tails are genuinely quite small relative to their bodies.
The face reads as a different animal entirely. This is usually a nose-size problem — an embroidered nose worked too large, or a dimensional snout piece borrowed from a dog or cow construction, tends to overpower the face and shift the overall impression away from “bunny.” Keeping the nose deliberately small and simple, as covered above, is the most reliable fix.
Contrasting inner-ear color looks messy or bleeds into the outer ear. This is generally a sizing and placement issue rather than a technique failure — an inner-ear patch cut or worked too large relative to the ear itself loses the clean contrast that makes the detail effective in the first place. Keeping the inner section noticeably smaller than the full ear, centered rather than pushed toward one edge, gives a cleaner result than trying to maximize the contrasting area.
Full crochet bunny Video pattern free
Common Questions About Crochet Bunny Patterns
Do lop ears require a completely different technique than upright ears? Not a different core technique, just a different tension and finishing approach — the same basic oval shape is worked more loosely and left unstuffed for lop ears, rather than densely worked and stiffened the way upright ears are. If you’ve made upright ears before, lop ears are a small adjustment rather than a new skill.
Is a crochet bunny pattern free project harder than the cow or dog guides on this site? Not inherently — the individual techniques (spheres, ear attachment, embroidered features) are shared across all three. What’s specific to bunnies is proportion (bigger hips, smaller nose, distinctly shaped tail) rather than a harder skill level.
Can I skip the hip shaping and just use a plain round body? Yes, and plenty of well-loved bunny amigurumi do exactly that — the ears and tail carry most of the visual recognition on their own, so a plain sphere body with long ears and a small round tail still reads clearly as a bunny, just with a less pronounced sitting posture.
What’s the easiest way to add seasonal variation, like for Easter? Color and small accessories do most of the work here without changing the construction at all — pastel yarn, a small crocheted flower or bow at the ear base, or a tiny basket accessory are common additions that don’t require any change to the core bunny shaping covered in this guide.
What size should a first bunny amigurumi project be? The medium, shelf-decor range (roughly six to ten inches, worked in worsted weight) is the most forgiving starting point — small enough to finish in a reasonable amount of time, but not so small that shaping mistakes in the ears or tail become difficult to correct with a needle and thread.
Bringing the Pieces Together
What makes a crochet bunny pattern free of guesswork, once the underlying logic is clear, comes down to a small number of proportional choices: ear length and posture, tail size, and how much hip shaping to build into the body. The core techniques are the same amigurumi fundamentals used across any stuffed animal — it’s really the specific combination and emphasis that makes something unmistakably a bunny rather than a generic round animal with long ears.
If you make your own version, we’d love to see your ear style and color choice — leave a comment with how yours turned out, and follow along for more technique guides like this one.