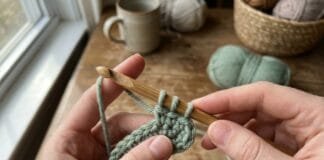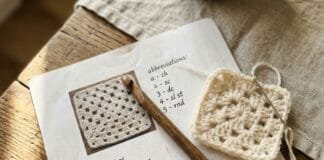
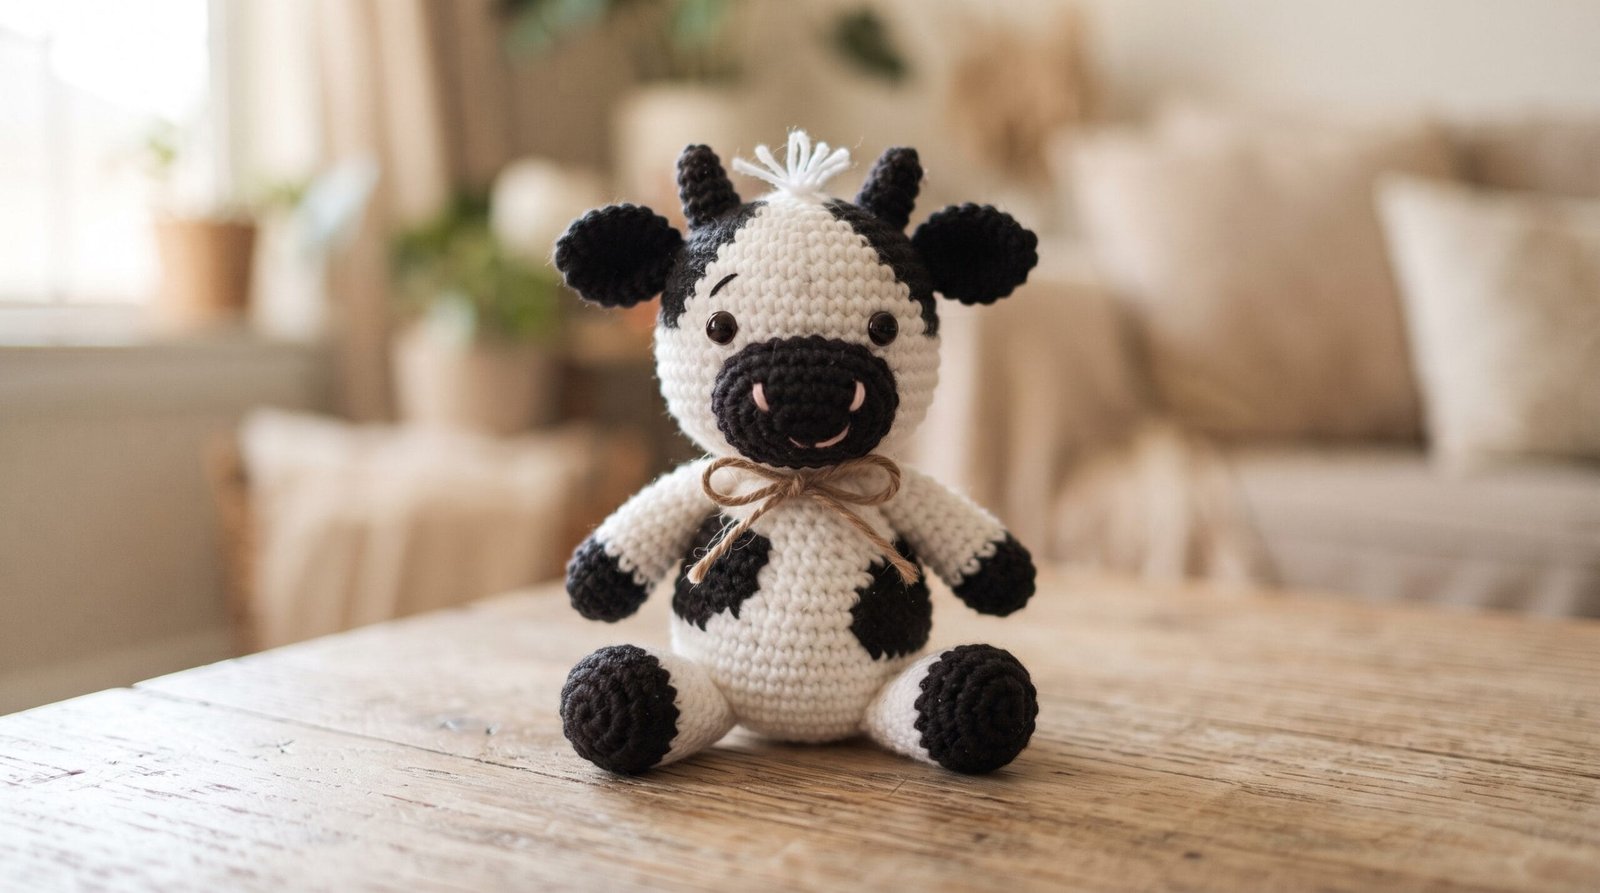
A crochet cow pattern free of confusing shorthand starts with understanding one thing: amigurumi isn’t really a separate craft from regular crochet, it’s regular crochet applied to sculpture instead of flat fabric. This guide walks through how that sculptural shaping actually works — the math behind rounding a sphere, building a recognizable snout and ears, handling color changes for spots, and assembling pieces so a finished cow doesn’t end up floppy or lopsided.
If you’ve made granny squares or a simple scarf but never a stuffed toy, the stitches themselves won’t be new to you. What’s different is how those same stitches get arranged to create three-dimensional shape, and that’s what this guide focuses on.
Why Amigurumi Shaping Works Differently Than Flat Crochet
Flat crochet — blankets, scarves, dishcloths — mostly asks you to keep a stitch count consistent row after row. Amigurumi does the opposite on purpose: it asks you to change the stitch count in a controlled, predictable way, because that controlled change is what curves the fabric into a three-dimensional shape instead of a flat one.
A sphere, which is the basic building block behind a cow’s head and body, is built by increasing evenly for the first half of the piece, working several rounds with no increases or decreases in the middle, then decreasing evenly for the second half. The increases push the fabric to curve outward; the plain rounds let it curve back toward vertical; the decreases pull it closed again. Almost every amigurumi shape — heads, bodies, snouts, even legs — is some variation on this same increase-plain-decrease logic, just stopped or extended at different points.
What You’ll Need
Yarn. A worsted weight (#4) yarn is the most common choice for amigurumi, mainly because it’s easy to find in a wide color range, which matters for a project like a cow that needs at least two contrasting colors for markings. Smooth, tightly plied yarns show stitch definition more clearly than fuzzy or loosely spun ones, which matters for a project where the shape itself is the main visual interest.
Hook — sized smaller than usual. This is one of the more counterintuitive amigurumi conventions: most amigurumi makers use a hook one or two sizes smaller than the yarn label recommends, not the size recommended for the yarn’s normal drape. A smaller hook produces a tighter, denser fabric, which matters because amigurumi pieces are stuffed — a looser fabric lets stuffing show through the gaps between stitches, especially in lighter colors.
Stuffing. Polyester fiberfill is the standard choice — washable, holds shape well, and widely available. It should be added in small pieces rather than one large clump, working it into corners and extremities (like ear tips or leg ends) with a blunt tool such as a chopstick or the end of a crochet hook, so the stuffing distributes evenly rather than leaving lumps or hollow spots.
Stitch markers, since amigurumi is worked in a continuous spiral rather than joined rounds, and losing track of where a round starts makes counting increases and decreases considerably harder.
Safety eyes or embroidery thread, tapestry needle, and sharp scissors for finishing and assembly.
Crochet Cow Pattern PDF Free Download
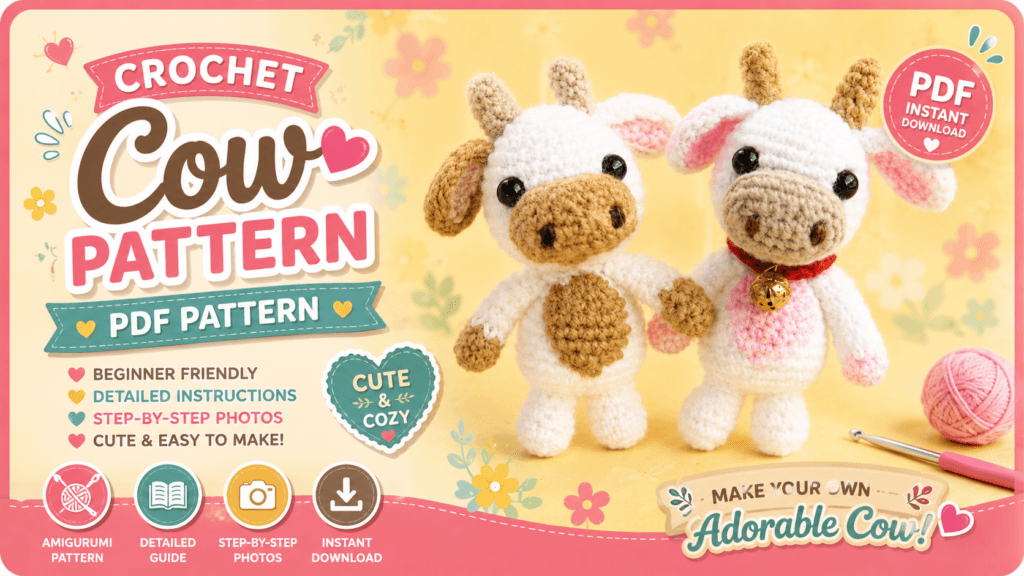
Crochet Cow Tutorial
A Note on Safety Eyes and Who the Cow Is For
This is worth addressing directly, since it changes a real construction decision. Plastic safety eyes, the kind with a washer that locks onto a post pushed through the fabric, are a small, hard component. According to the Consumer Product Safety Commission’s small parts guidance, products intended for children under three are banned from containing small parts that fit within a defined small parts test cylinder, specifically because of the choking risk they pose to that age group.
If a finished cow is genuinely intended as a toy for a child under three, embroidered eyes (worked with yarn or embroidery floss, stitched directly into the fabric) are the safer choice, since they can’t detach the way a mechanical safety eye theoretically could if the washer weren’t seated correctly or the fabric later wears thin. Safety eyes are fine for older children or for a decorative/adult-collector piece, but the age of the intended owner is a real design decision here, not just an aesthetic one.
Choosing a Breed and Color Pattern
“Cow” covers a lot of visual variation, and picking a specific look upfront makes the color-change planning discussed above much more manageable.
A Holstein-style black-and-white pattern, the most instantly recognizable option, uses large, irregular patches rather than stripes or spots — which actually makes it more forgiving for a first attempt, since irregular patch edges hide minor color-change imperfections better than a pattern with strict geometric lines would. A Jersey-style solid warm brown, by contrast, needs no color changes on the body at all, just a contrasting muzzle and possibly white patches on the face, which is a considerably simpler project if color changes feel like the most intimidating part of this guide. A Highland-style shaggy coat is a different challenge entirely, usually achieved with a longer-pile yarn or loop stitch rather than color work, and shifts the technical difficulty away from color changes and toward stitch texture instead.
Deciding on one of these approaches before starting — rather than mid-project — keeps the shaping and color decisions working together instead of fighting each other. It’s also worth deciding at this stage whether the finished piece is meant as a shelf decoration, a photo prop, or an actual toy for a specific child, since that decision feeds directly back into the safety-eyes-versus-embroidery choice covered earlier.
Reading Amigurumi Pattern Shorthand
Amigurumi patterns tend to compress instructions more aggressively than blanket or garment patterns, since a single round might otherwise take a full sentence to spell out.
MR stands for magic ring, the adjustable loop start used at the beginning of most amigurumi pieces instead of a standard chain, since it closes without leaving a visible hole at the center.
inc means increase — two stitches worked into a single stitch — and dec or sc2tog means an invisible decrease, two stitches worked together as one. A round written as “sc, inc x6 (18)” means repeat “one single crochet, one increase” six times, ending with eighteen total stitches — the number in parentheses at the end of a round is a checkpoint, exactly like in a sweater pattern, and worth stopping to verify against rather than assuming it’s correct and continuing.
BLO and FLO (back loop only, front loop only) show up occasionally in amigurumi to create a visible ridge line — often used deliberately at a neck or joint to suggest definition between body parts without needing a separate seam.
Recognizing these abbreviations on sight, rather than needing to look each one up mid-round, makes it considerably easier to follow a written amigurumi pattern smoothly once you’re ready to work from one.
Building the Head and Body
The head and body of a cow are both, at their core, spheres — just possibly different sizes relative to each other depending on the proportions you’re going for.
Starting the sphere begins in a magic ring, typically with six stitches worked into the ring for the first round. From there, each following increase round adds six stitches total, spread evenly around — doubling into every stitch on round two (bringing the count to twelve), then every other stitch on round three (eighteen), then every third stitch on round four (twenty-four), and so on. This “increase by six per round, spread evenly” pattern is a widely used amigurumi convention because six evenly spaced increase points curve a circle into a smooth sphere shape without visible faceting.
The middle, un-shaped rounds are worked with no increases or decreases at all — just a plain round of single crochet at whatever stitch count the increases brought you to. This is where the sphere’s actual diameter is set: more plain rounds make a taller, more egg-like shape; fewer make a flatter, more compressed one.
Closing the sphere mirrors the opening, decreasing by six stitches per round using an invisible decrease (worked through the front loops of two consecutive stitches together, rather than a standard decrease, which tends to leave a visibly larger gap) until the opening is small enough to close with the tail after stuffing.
Proportion is what actually reads as “cow” rather than “blob.” A cow’s head is proportionally large relative to its body compared to many other amigurumi animals, and the snout takes up a substantial portion of the lower face. Working from a reference photo of an actual cow’s head shape — rounder muzzle, wider-set ears, relatively short neck — while planning your own proportions will get you closer to a recognizable result than guessing.
Shaping the Snout and Ears
The snout is usually a smaller, flatter sphere or a short oval, worked with fewer increase rounds than the head, then attached to the front-lower portion of the head after both pieces are stuffed. A slightly flattened oval, rather than a full round sphere, tends to read more convincingly as a snout — working one or two plain rounds at a wider stitch count before decreasing, rather than decreasing immediately after the increases, achieves that flatter profile.
Ears for a cow are typically worked flat rather than in the round — a small oval or triangle shape built with a handful of increase and decrease rows, left unstuffed or only lightly stuffed so they hold a slight curve rather than standing rigidly upright. Cow ears in particular tend to angle outward and slightly downward from the head, which is a placement decision made during assembly rather than something built into the ear piece itself.
Color Changes for Markings
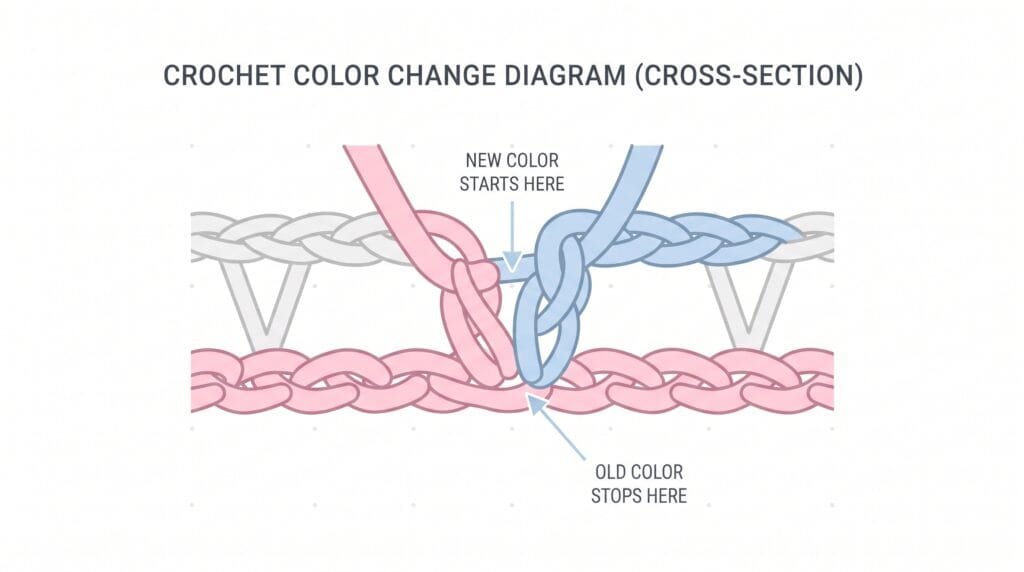
Cow markings — the black-and-white or brown-and-white patches most people picture — require clean color changes, which is a technique worth practicing separately before attempting it on a shaped piece.
The standard method is to work the stitch before the color change as normal until the last step (the final yarn-over that completes the stitch), then complete that final step with the new color instead of the original one. This means the color change happens invisibly within the stitch itself, rather than leaving a visible half-stitch of the old color at the join.
For amigurumi specifically, where the color-changed sections often follow an irregular patch shape rather than a straight stripe, working from a simple sketch of where the patches should fall — mapped roughly onto your round-by-round stitch counts — before starting is far easier than improvising the patch boundaries as you go.
Legs, Tail, and Assembly
Legs are usually short cylinders — a small sphere-style start (magic ring, a couple of increase rounds), then several plain rounds with no shaping at all to build length, stuffed firmly enough to support the body’s weight without being able to bend at the joint on their own.
A tail is often just a short length of chain or a slim crocheted tube, sometimes finished with a small tuft of unraveled yarn or a tiny pom-pom at the end to suggest the tuft of hair at a real cow’s tail.
Assembly is where a lot of the finished quality actually comes from. Pinning pieces in place before sewing — checking that both ears sit at matching heights, that legs are even in length, that the snout is centered — catches asymmetry while it’s still easy to adjust, rather than after everything is permanently stitched. A whip stitch or mattress stitch, worked through both layers with a doubled length of yarn for extra strength at stress points like the neck and leg joints, holds up better over time than a single loose pass of stitching.
Fastening off cleanly matters more on amigurumi than almost anywhere else, since a loosened fasten-off on a small piece can unravel visibly and quickly, especially at points that get handled or squeezed repeatedly, like a toy a child actually plays with. This is also the point in the process worth double-checking that no yarn tails or trimmed ends are left long enough to pose their own small hazard, particularly again for anything intended for a very young child.
Common Amigurumi Problems and Their Causes
A visible diagonal “seam” line spiraling up the piece. This is a normal feature of continuous-spiral amigurumi, not a mistake — because rounds aren’t joined and turned the way flat crochet rows often are, the increase points drift slightly with each round, creating a faint visible spiral. It’s rarely noticeable once stuffed and can be minimized by keeping increases stacked at consistent points relative to a stitch marker, rather than placed randomly.
Stuffing visible through the fabric, especially in white or light-colored yarn. This traces back to gauge — a hook sized too large for the yarn leaves gaps between stitches. Sizing down a hook or two from what the yarn label suggests is the standard fix, mentioned earlier for exactly this reason.
A floppy or wobbly head-to-body join. This usually means the join was stitched through too few layers, or without enough stuffing directly behind the join to give the stitches something firm to anchor against. Stuffing both pieces firmly right up to the point of assembly, and sewing through multiple passes rather than a single loop, generally resolves this.
Ears or limbs that sit crooked despite careful pinning. Sometimes this comes down to stuffing density rather than placement — an unevenly stuffed limb can twist slightly as the yarn settles over the following days, even if it looked straight immediately after sewing. Consistent, even stuffing density prevents this more reliably than adjusting placement after the fact.
The finished piece looks smaller or larger than expected. Amigurumi gauge is more about achieving a dense, gap-free fabric than hitting an exact measurement, so a size mismatch usually traces back to hook size rather than stitch count — a hook too close to what the yarn label recommends produces a noticeably larger, looser finished piece than the same instructions worked on a properly downsized hook.
A Simple Crochet Cow Pattern Approach for a First Attempt
If a full realistic cow with distinct snout, ears, legs, and tail feels like a lot for a first amigurumi project, a simpler crochet cow pattern often simplifies the shape considerably — a single rounded body-and-head sphere (no separate neck seam), simple flat ear shapes, embroidered or appliquéd spots instead of a full color-changed body, and short stub legs or none at all, more like a bean-bag toy silhouette than an anatomically detailed figure. This simplified approach keeps the core techniques — sphere shaping, color work, safety-conscious eye choice — while removing the assembly complexity of multiple separately-shaped limbs, and is a reasonable place to start before attempting a more detailed version.
Common Questions About Amigurumi Cow Patterns
Do I need special amigurumi-specific stitches I haven’t learned before? No — the core stitch is almost always single crochet, worked in a continuous spiral rather than joined rounds. The techniques that are specific to amigurumi are the shaping math (increase and decrease placement) and finishing skills (invisible decrease, assembly), not new stitches themselves.
Why does my sphere come out lopsided even though I followed the increase counts? This is almost always inconsistent increase placement rather than an incorrect total count — if the six increases in a round aren’t spread genuinely evenly, the sphere pulls unevenly toward whichever side has increases bunched closer together. Using stitch markers at each increase point, moved up every round, keeps them honestly spread out rather than estimated by eye.
Is a crochet cow pattern free project realistic as a first amigurumi attempt, or should I start with something simpler? A simplified version — one rounded body shape, flat ears, no separate limbs — is a reasonable first amigurumi project. A fully detailed version with a distinct snout, four legs, and precise color-changed markings is more realistically a second or third amigurumi project, once sphere shaping and color changes both feel comfortable individually.
How much yarn does an amigurumi cow actually take? This varies a lot by finished size, but amigurumi generally uses far less yarn than it might look like from the finished piece, since the pieces are small and dense rather than large and open — a finished project in the six-to-ten-inch range typically uses well under a full skein in each color.
Can amigurumi pieces be crocheted flat and seamed instead of worked in the round? Some makers do construct amigurumi from flat pieces, especially for beginners more comfortable with turned rows than continuous spiral rounds, but the seam adds a visible line and an extra assembly step most in-the-round methods avoid. It’s a valid alternative if continuous spiral counting feels overwhelming at first, though most published amigurumi patterns default to the in-the-round method for a cleaner, seamless result on curved pieces like a head or body.
Bringing the Pieces Together
What makes a crochet cow pattern free of guesswork, once you understand it, is that almost every visible feature — the rounded head, the flattened snout, the outward-angled ears — comes down to the same handful of shaping decisions: how many increase rounds, how many plain rounds, where the decreases start, and how firmly each piece is stuffed before assembly. None of it requires a stitch you haven’t already used elsewhere.
If you try building your own version, we’d genuinely like to see how the proportions turned out — share a comment with what size and color combination you went with, and follow along for more technique breakdowns like this one.