I unraveled an entire baby blanket once because I tied off crochet with a single overhand knot and called it done. Three washes later, the knot had worked itself loose and half a row had come undone before I noticed. If you want to know how to tie off crochet so it actually stays put — through washing, wear, and a toddler tugging on it — this is everything I’ve learned the hard way, including the method that finally stopped my amigurumi seams from ever popping open again.
There isn’t just one way to do this. Which method you reach for depends on whether you’re finishing a flat edge, closing up a round, or trying to hide the join entirely so it disappears into the stitch pattern. I’ll walk through all of them.
What “Tying Off” Actually Means in Crochet
New crocheters sometimes assume “tying off” means literally knotting the yarn, the way you’d tie off a balloon. It doesn’t, not really. In crochet, the standard way to secure your last stitch is called a fasten off — you cut the yarn, leaving a tail, then pull that tail all the way through the final loop on your hook and snug it down.
That single pull-through is what locks your last stitch in place so the whole piece doesn’t unravel back through every stitch you just made. According to the Craft Yarn Council’s standard abbreviation list, “fasten off” is the term used consistently across published patterns for exactly this step, which is worth knowing if you’ve ever seen “FO” in a pattern and wondered what it meant.
An overhand knot on top of that isn’t wrong, technically, but it’s not what’s actually holding your work together — the pull-through is doing that job. I’ll explain later why I stopped relying on knots as a backup at all.
The Basic Fasten Off, Step by Step
This is the one every crocheter learns first, and it’s genuinely all you need for most projects.
- Work your last stitch as the pattern instructs.
- Cut the yarn, leaving a tail of at least 6 inches — longer if you’ll need it for seaming later.
- Pull the cut end all the way through the loop still sitting on your hook.
- Gently tighten that loop by pulling the tail, until it sits snug against the last stitch (not so tight that it puckers the fabric).
That’s it. The mistake I see most often at this stage is cutting the tail too short before realizing you needed it to sew a seam or weave in later. I now leave at least 8 inches by default, even when I think I won’t need it — it costs nothing to trim later, but a too-short tail is a real headache to fix.
How to End a Crochet Chain
A plain foundation chain that isn’t being worked into anything else — like if you’re just practicing, or making a drawstring — gets tied off slightly differently, since there’s no “stitch” on the hook the way there is at the end of a row.
Cut the yarn with a tail, then pull the tail through the last chain loop the same way you would with a regular fasten off. There’s no separate trick to it; a chain is really just a long line of loops pulled through loops, so the same pull-through-and-tighten logic applies at the very end.
Where people get tripped up is starting a project, chaining a foundation row, and accidentally pulling the working yarn instead of the tail when they go to secure it — which unravels the chain you just made instead of locking it. If you’re new, it helps to physically set the ball of yarn down and pick up only the cut tail before you pull, so your hands can’t confuse the two.
How to Finish Off a Crochet Round
Rounds — worked for hats, coasters, granny squares, amigurumi bodies — usually get closed with a slip stitch into the first stitch of the round before you fasten off, and this is a step a lot of beginner patterns gloss over.
The Standard Join
Once you’ve worked your last stitch of the round, insert your hook into the top of the very first stitch you made in that round, yarn over, and pull through both loops on your hook. That slip stitch is what closes the circle. Only after that join do you cut your yarn and fasten off through the remaining loop.
Why My First Granny Squares Looked Lumpy
For my first dozen granny squares, I was fastening off directly out of the last stitch without doing that join slip stitch first. The squares technically held together, but there was a visible gap where the round didn’t quite close, and I kept blaming my tension for it. Once someone pointed out I was skipping the join stitch entirely, the gap disappeared completely — it had nothing to do with tension at all.
If your rounds look like they’re missing a stitch right where they should connect, check whether you’re actually joining before you fasten off. It’s an easy step to accidentally skip when you’re focused on counting stitches.
Invisible Fasten Off Crochet: The Method That Changed My Amigurumi
This is the technique I get asked about the most, and it’s worth learning even if you only ever make one amigurumi in your life.
A standard fasten off, when used to close the final round of something like an amigurumi head, leaves a visible little bump or “step” where the spiral rounds don’t perfectly line up with the join. It’s not a mistake exactly, it’s just how a regular join looks on a spiral. For faces and toys where that bump would sit right on a visible seam, it’s worth swapping in an invisible fasten off instead.
How to Work It
- Instead of slip-stitching into the first stitch of the final round, cut your yarn leaving a long tail and pull it through the last loop on your hook (a regular fasten off, but don’t join first).
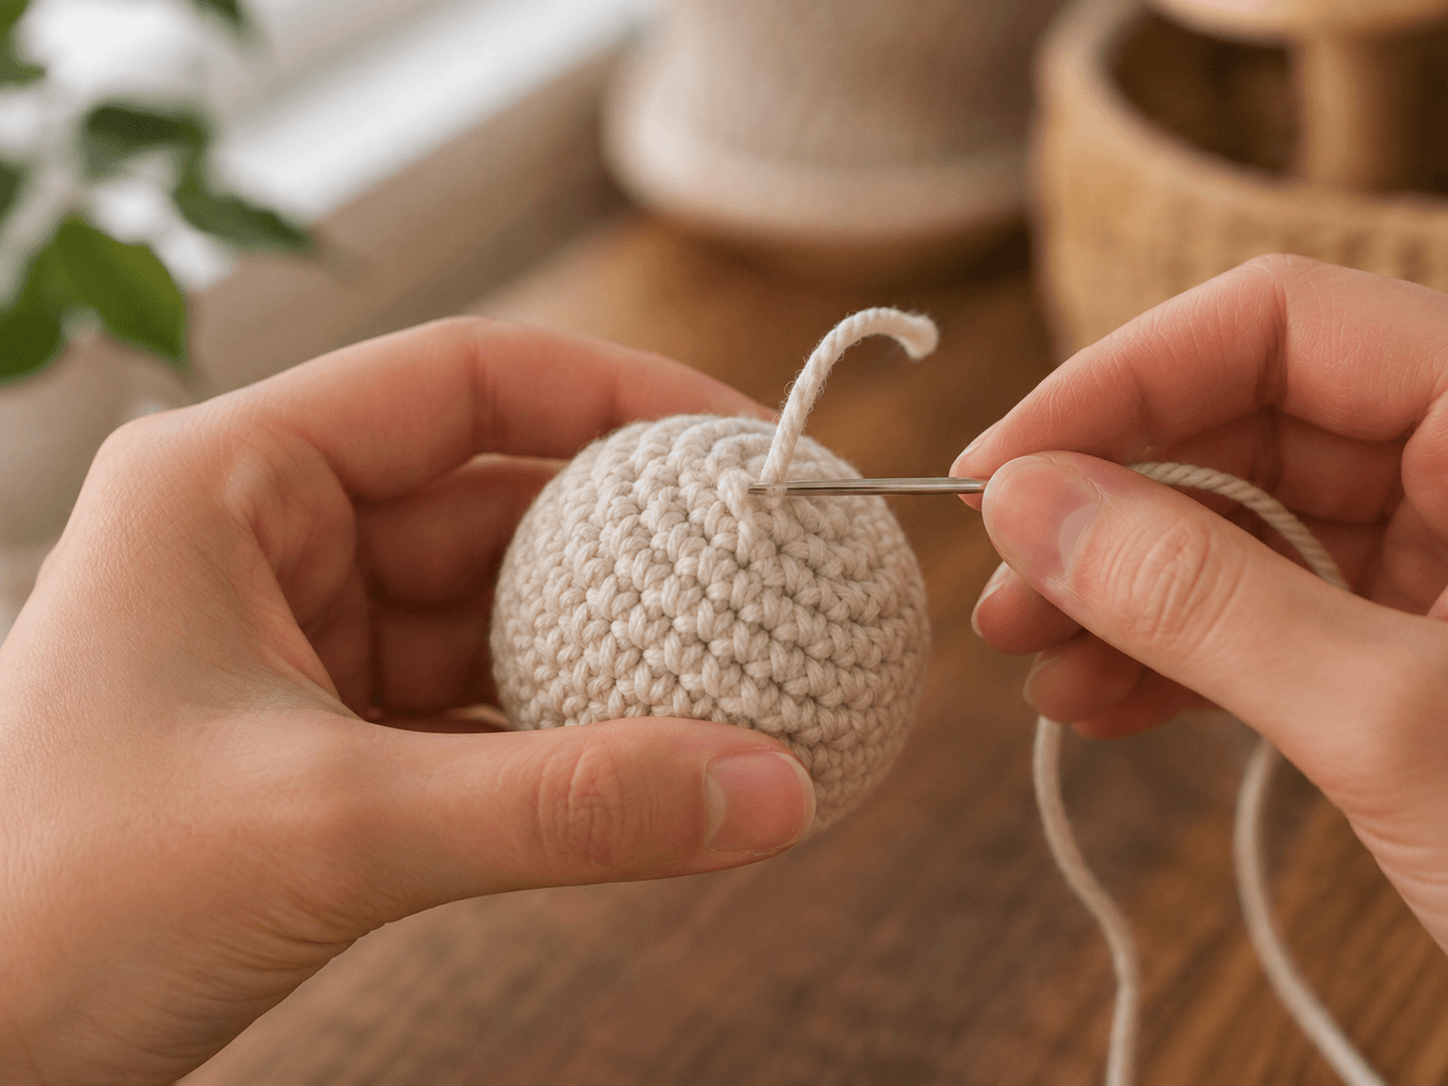
- Thread that tail onto a yarn needle.
- Skip the front loop of the very next stitch (the one you’d normally have joined into) and instead pass your needle under both loops of that stitch from front to back, then come back up through the middle of the same stitch on the far side, mimicking the V shape of a stitch.
- Pull gently to tighten. It should sit level with the surrounding stitches, not raised or sunken.
- Weave the tail in through several stitches on the inside before trimming, to lock it in place.
The first few times I tried this, my “invisible” join was anything but — I was pulling the tail so tight it puckered the round underneath it. Loosen your pull if that happens; the stitch should look like a natural part of the round, not a cinched drawstring.
How to Fasten Off Crochet Amigurumi Without Gaps or Popped Seams
Amigurumi gets handled, squeezed, and often stuffed under real tension from the filling pushing outward, so a fasten off that would be perfectly fine on a flat blanket can fail here specifically.
Weave In Twice, In Different Directions
For anything stuffed, I weave the tail through stitches in one direction for about an inch, then double back and weave through a different set of stitches in the opposite direction before trimming. Weaving in a single straight line gives the tail one path to slowly work its way back out under pressure from stuffing; crossing directions makes that much harder.
Don’t Trust a Knot Alone on Stuffed Pieces
I used to add a small knot before weaving in, thinking it was extra insurance. On stuffed pieces specifically, I’ve had those knots slip loose over time as the stuffing shifts and puts steady outward pressure on the fabric. A properly woven-in tail, crossed in two directions, has held up far better for me than a knot ever did, on pieces that get actual daily handling like a kid’s stuffed toy.
Secure Any Limb or Ear Seams Separately
If you’re attaching a limb or ear with its own tail rather than sewing it on with a fresh strand, fasten off and weave that tail in completely on its own before moving to the next piece. I learned this after an ear came loose on a bunny I’d made for my niece — I’d left the tail only loosely tucked in, planning to “secure it properly later,” and later never came.
Choosing the Right Yarn Needle for Weaving In
The tool you use to weave in your tail matters more than most beginner guides let on. A blunt-tipped yarn or tapestry needle is what you want — a sharp sewing needle can split the plies of your working yarn as you weave, which weakens exactly the fibers you’re relying on to hold the tail in place.
I keep two sizes in my project bag: a steel needle with a smaller eye for finer yarns like sport or fingering weight, and a plastic bent-tip needle for anything bulky, since the bend makes it easier to angle through thicker stitches without fighting the needle the whole time. If your needle keeps splitting your yarn as you weave, it’s often the needle that’s wrong for the yarn weight, not your technique.
Does the Yarn Type Change How You Should Tie Off?
It genuinely does, and this is something I didn’t appreciate until I moved from acrylic to natural fibers.
Acrylic and other synthetic yarns hold a fasten off well because the fiber itself has a bit of grip and doesn’t want to slide. I’ve rarely had an acrylic tail work itself loose, even with minimal weaving in.
Cotton is smoother and less forgiving. Tails on cotton projects — dishcloths, market bags — benefit from being woven in a little more thoroughly, since cotton’s slickness gives a loose end more opportunity to slip.
Wool and wool blends actually help you here, in a way that surprised me the first time I noticed it. Wool fibers have tiny scales that catch against each other slightly, especially after the piece has been washed once, which is part of why a woven-in wool tail tends to stay put even more securely over time.
Slippery specialty fibers — bamboo, silk, some rayon blends — are the ones where I’ll actually add a small secure knot in addition to weaving in, because I’ve had ends on these fibers slip loose even after careful weaving.
None of this means you need to memorize a chart before finishing a project. It just explains why the exact same fasten off technique can feel rock solid on one yarn and slightly unreliable on another, even when you’ve done nothing differently.
Fastening Off a Straight Edge vs. a Lace or Shell Edge
A plain straight edge, like the end of a scarf worked in single crochet, is about as forgiving as finishing gets — there’s dense fabric all around the last stitch for the tail to weave into.
A lace or shell-stitch edge is a different story. Those open, airy stitch patterns don’t give you much solid fabric near the very last stitch to hide a tail in. On projects like this, I’ll often weave the tail back several rows into denser stitching further from the edge, rather than trying to bury it right at the border where there’s nothing but open space to catch it. It takes an extra minute, but the tail stays invisible instead of dangling awkwardly off a lacy edge where anyone would spot it.
When to Tie Off vs. When to Keep Going in One Piece
Not every color or section change actually requires you to tie off crochet at all, and figuring out when you can skip it saves both time and ends to weave in later.
If you’re changing colors every row or two, like in a striped project, it’s often better to carry the unused color up the side rather than fastening off and rejoining each time. You simply drop the color you’re not using, work with the new one, and pick the dropped strand back up a few rows later — no cutting, no extra tail, no extra weaving. I only fasten off between color changes when a color won’t be used again for many rows, since carrying a strand that far tends to show through or pull at the edge.
Granny squares and joined-as-you-go projects are the opposite case — you genuinely do need to fasten off at the end of nearly every square, because each one is a separate, self-contained round. There’s no way to carry a strand between squares that aren’t directly adjacent yet, so learning a quick, tidy fasten off is worth it if this is the kind of project you gravitate toward, since you’ll be doing it dozens of times over a single blanket.
Blocking After You’ve Fastened Off
One thing that surprised me the first time I blocked a finished piece: a slightly imperfect fasten off can look completely fine once the whole piece has been blocked, because blocking evens out a lot of small tension inconsistencies across the fabric. That’s not permission to be sloppy about how to tie off crochet stitches or weave in ends — a poorly secured tail can still work loose over time regardless of blocking — but if your very last stitch looks a touch uneven right after you finish, don’t panic and immediately redo it. Wet or steam block the piece first using whatever method suits the fiber, let it dry fully, and then take another look before deciding whether it actually needs fixing.
Common Mistakes That Undo All Your Work
Pulling the wrong strand when securing the last loop. As mentioned above with chains, this unravels instead of locking. Always confirm you’re holding the cut tail, not the working yarn from the ball, before you pull.
Cutting the tail too short to weave in properly. A tail under 4 inches is hard to thread onto a needle and even harder to weave in securely. Leave more than you think you need.
Weaving in along the very edge of the fabric. Ends woven right along an edge are more likely to work themselves loose over time, especially with washing. Weave diagonally through the body of the fabric instead, changing direction partway if you can.
Skipping the join on a round. As I found out with my early granny squares, forgetting to slip stitch into the first stitch before fastening off leaves a visible, structural gap, not just a cosmetic one.
Assuming a knot is doing the securing work. The pull-through-the-last-loop step is what actually locks your stitches. A knot on top can add a small amount of insurance on slippery yarns, but it isn’t a substitute for weaving the tail in properly.
A Few Real Reader Questions
Do I need to tie an actual knot after fastening off, or is weaving in enough? For most fibers, weaving the tail in securely through several stitches in two directions is enough on its own. I only add a small knot as extra insurance on very slippery yarns, like some acrylics or bamboo blends, where I’ve had ends slip before.
My fasten-off tail keeps popping back through to the front of my work. What am I doing wrong? This usually means the tail is being pulled from a spot too close to the front loops. Try weaving it through the back or middle of the stitches instead of right along the surface, and avoid pulling it too tight, which can drag it visibly toward the front.
Is the invisible fasten off worth learning if I mostly make blankets, not amigurumi? Honestly, probably not urgently. It matters most where the join sits somewhere highly visible on a spiral round, like a toy’s face. On a flat blanket worked in rows, a standard fasten off is rarely noticeable enough to bother with the extra steps.
Can I use fabric glue instead of weaving in the tail on amigurumi? I wouldn’t rely on glue alone as a substitute for weaving in — it can stiffen the fibers around it and doesn’t hold up the same way to handling and washing. A woven-in tail is a bit slower but genuinely more durable, especially on something that’ll get picked up and squeezed regularly.
How long should I actually leave the tail before I cut it, after weaving in? I leave a small amount, maybe a quarter inch, rather than trimming flush against the fabric. Cutting it too close to the surface increases the odds that the very end works its way back out with handling or washing, since there’s nothing left to grip once it starts to slip.
Is it okay to fasten off in the middle of a row if I run out of yarn, then rejoin with a new skein? Yes, that’s completely normal and it’s how most larger projects handle changing colors or skeins anyway. Fasten off the old yarn, weave in that tail, then join the new strand with a slip knot on the hook and continue — just try to make the join at the start or end of a row rather than mid-row where the color or fiber change would be more visible.
Bringing It All Together
Learning how to tie off crochet properly — really securing that last loop rather than just hoping a knot will hold — is one of those unglamorous skills that quietly determines whether your finished piece lasts. Get the basic fasten off solid first, then add the join for rounds and the invisible finish for amigurumi once those start feeling automatic. For more on getting your project’s overall shape and edges consistent before you ever reach the finishing steps, check out our guide on reading a crochet gauge swatch — it pairs well with this one since a lot of “my fasten off looks wrong” turns out to be a tension issue from earlier in the project.
If you’ve got a finishing trick of your own, especially for amigurumi or anything that gets a lot of handling, I’d love to hear it in the comments. And if this saved you from unraveling a project the way I once did, feel free to pass it along to a crochet friend who’s still fighting their fasten off.